
The Crafts

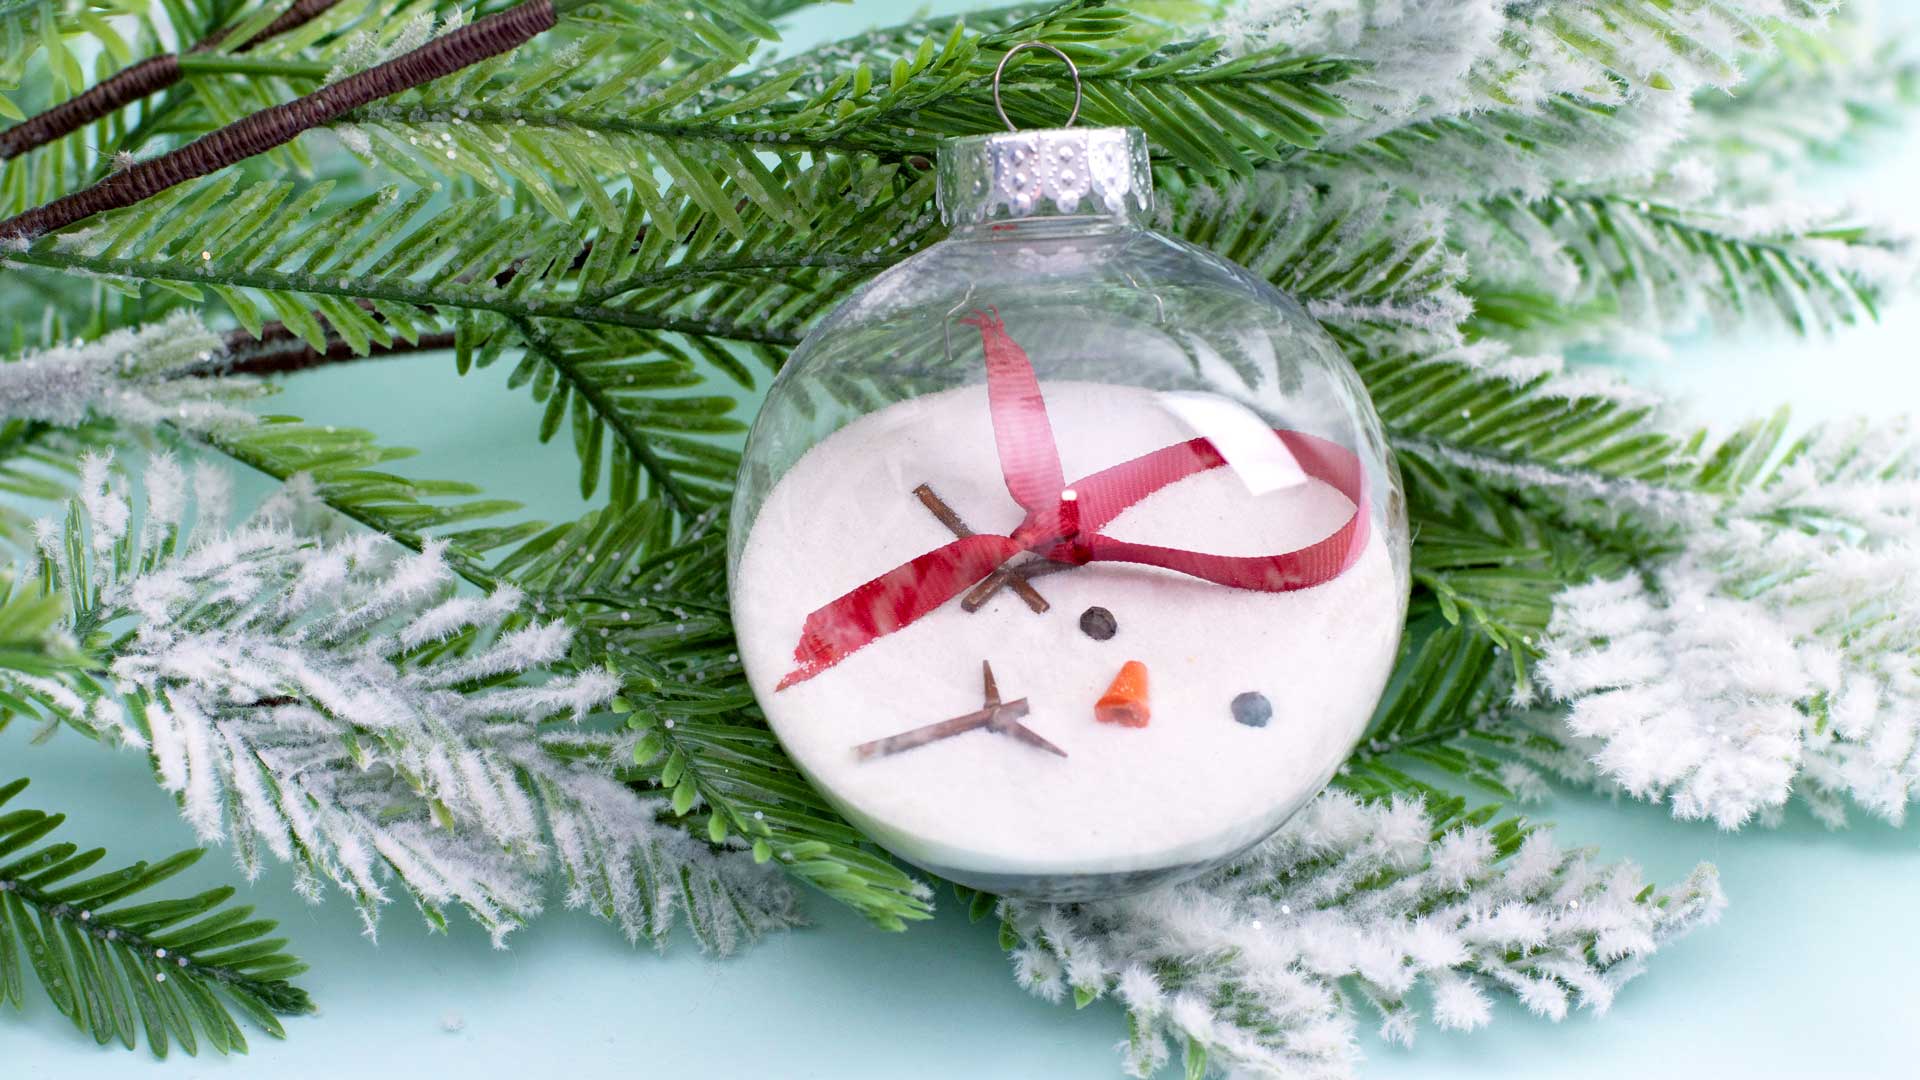 Melted Snowman
(Ages 3-104)
For those crafters living in warmer locales, melted snowmen are a funny spin on a winter classic.
Materials:
Clear, fillable ornament
Melted snow: sand or salt work well
Carrot nose: the end of an orange colored pencil, a toothpick colored orange with crayon or maker
Eyes: a few peppercorns or black nerds for coal eyes
Scarf: any scrap of fabric cut into a strip & tied into knotted scarf
Instructions:
Fill the jar or clear ornament with sand or salt.
Gently place the carrot nose, coal eyes and scarf on top of the “melted snow”.
Seal the clear ornament shut, or place the lid on the jar.
Hang from a tree or use on a table or shelf to decorate.
Melted Snowman II
Materials:
White glue
Googly eyes
Construction paper
Black beads
Ribbon
Instruction
Pour white glue out onto construction paper. This is the melted snow, so have kids pour a decent sized puddle.
Cut out a tophat and carrot nose from construction paper and set into the glue gently so they remain sitting on top.
Add googly eyes and several black beads for the mouth.
Gently press a loop of ribbon into the top of the glue puddle for an ornament hanger.
Leave the glue to dry for several hours then carefully cut out the puddle shape. The ornament is ready to hang!
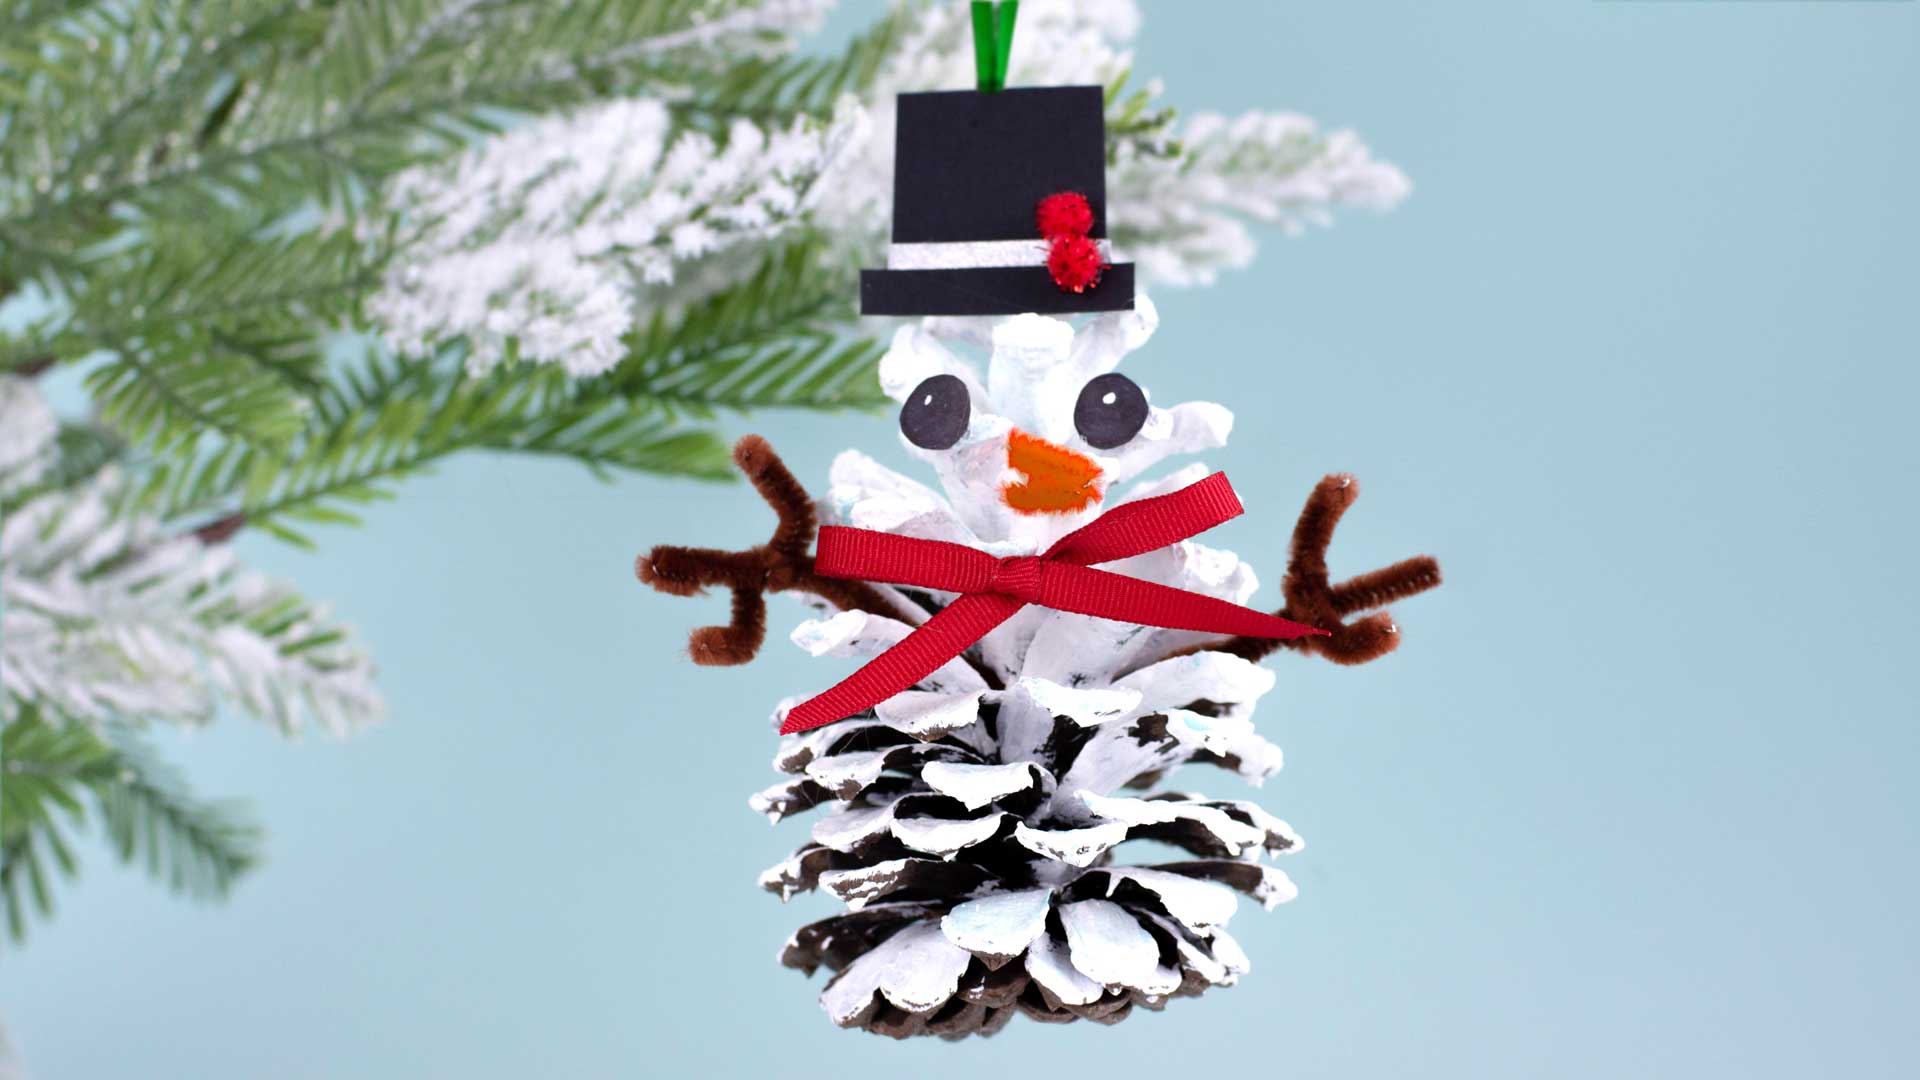 Snowman Pine Cone
(Ages 3-104)
These snowmen are great for younger crafters with a little help from adults. They also look great on trees, with a hanger nestled between the branches.
Materials:
Pine cones
White paint & paint brushes
Pipe cleaners
Hot glue gun
Markers
Buttons & fabric scraps
Instructions:
Paint pine cones white and add in some blue or purple for a chilly effect.
Cut a brown pipe cleaner in half.
Using a hot glue gun, glue brown pipe cleaners to the sides of the pine cone for snowman arms.
Trim a small piece of orange pipe cleaner for a nose, glue onto the front of the pine cone.
Color in two eyes with the marker, or glue on googly eyes if they’re on hand.
Tie the fabric scarf around the “neck” of the pine cone.
Kids can bend the arms of the snowman and pick buttons to get glued onto the front. Pine cones can also get used a centerpieces on tables, or to hold up place cards at holiday dinners.
Toilet Paper Roll Snowman
Save toilet paper rolls to be transformed into adorable ornaments for the tree.
Materials:
Cardboard toilet paper roll
Paint (white & assorted colors)
Fabric scraps & ribbon
Pipe cleaners (assorted colors)
Glue (optional hot glue gun)
Scissors
Instructions
Paint the toilet paper roll white. Paint the inside a contrasting color, if desired.
Gently punch holes through the sides and thread brown pipe cleaners through for arms.
Secure pipe cleaners in place with a dollop of glue.
Tie a fabric scrap or ribbon a third of the way down the cardboard roll for a scarf.
Use markers or paint to color two eyes & a mouth above the scarf.
Glue a section of orange pipe cleaner on for a carrot nose, and buttons down the front of the snowman.
Carefully punch two holes at the top of the roll on opposite sides. Thread a ribbon through each hole & knot for a hanger.
Secure ribbon with a dollop of glue.
Hang snowmen ornaments in a tree or tie hangers around a garland or wreath to add color.
Mason Jar Lid Snowmen
Those who do their own canning can reuse the flat portion of a mason car lid to make a snowman face.
Materials:
Mason jar lid (the flat middle portion)
Paint (white & assorted colors)
Paintbrushes
Hot glue gun
Poms poms and pipe cleaners
Yarn & fabric scraps
Instructions:
Paint the lid white.
Hot glue the pom poms to the sides of the flat metal lid for ear muffs, and the yarn along the top of the lid.
Knot a bow into a section of fabric and glue to the bottom of the face for a scarf.
Using paint or markers, add eyes and a series of dots for the coal lump mouth.
Hot glue an orange pom pom or section of pipe cleaner to the center of the snowman’s face for a carrot nose.
Hot glue a loop of ribbon or yarn at the top for a hanger.
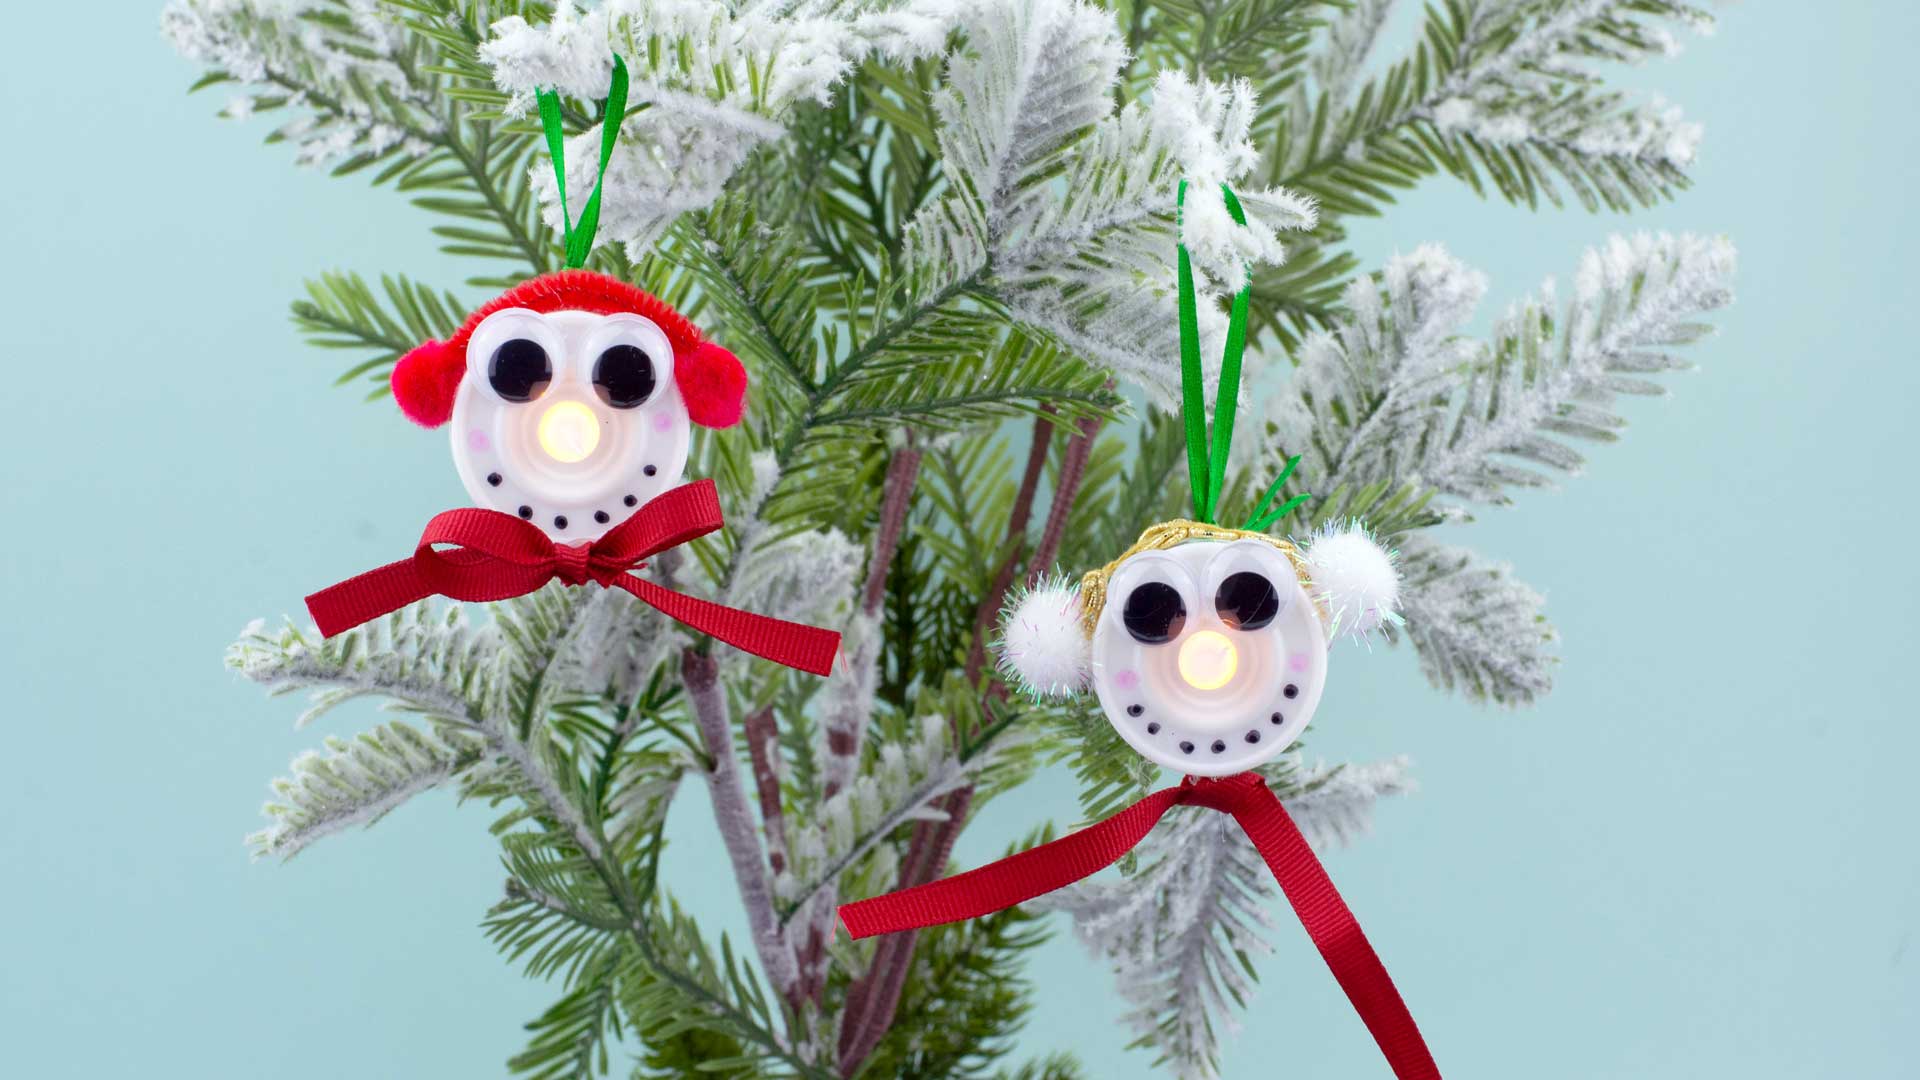 Snowman Tealights
(Ages 3-104)
Light up holiday decorating with these cute & easy snowmen faces made from tea lights.
Materials
Battery powered tea lights
Black marker
Ribbon
Pom poms
Hot glue & hot glue gun
Instructions
Draw eyes & mouths on the tea lights, the plastic flame which lights up is the snowman’s carrot nose.
Using hot glue, make ear muffs for each snowman from pompoms and ribbon. Glue a pom pom to both sides of the tea light.
Cut a section of ribbon slightly longer than the distance from one pom pom to the other. Hot glue the ends of the ribbon to both pompoms to complete the ear muffs.
Tie a ribbon or piece of fabric into a bow & glue it to the bottom of the tea light as a scarf. Use one final section of ribbon looped & glued to the top of the tea light as a hanger. Hang tea lights from a tree, or string them together as a garland.
Marshmallow Snowman
Combine a hot chocolate break with making these adorable & tasty ornaments.
Materials:
Clear plastic ornaments
Mini marshmallows
Orange construction paper or felt for snowman noses
Black beads or black permanent marker
Glue
Instructions:
Fill the clear plastic ornament with mini marshmallows.
Cut out a narrow triangle from the construction paper or felt and glue onto the side of the ornament for the snowman’s carrot nose.
Either using black beads glued on, or the black permanent marker make eyes and a line for the mouth of the snowman.
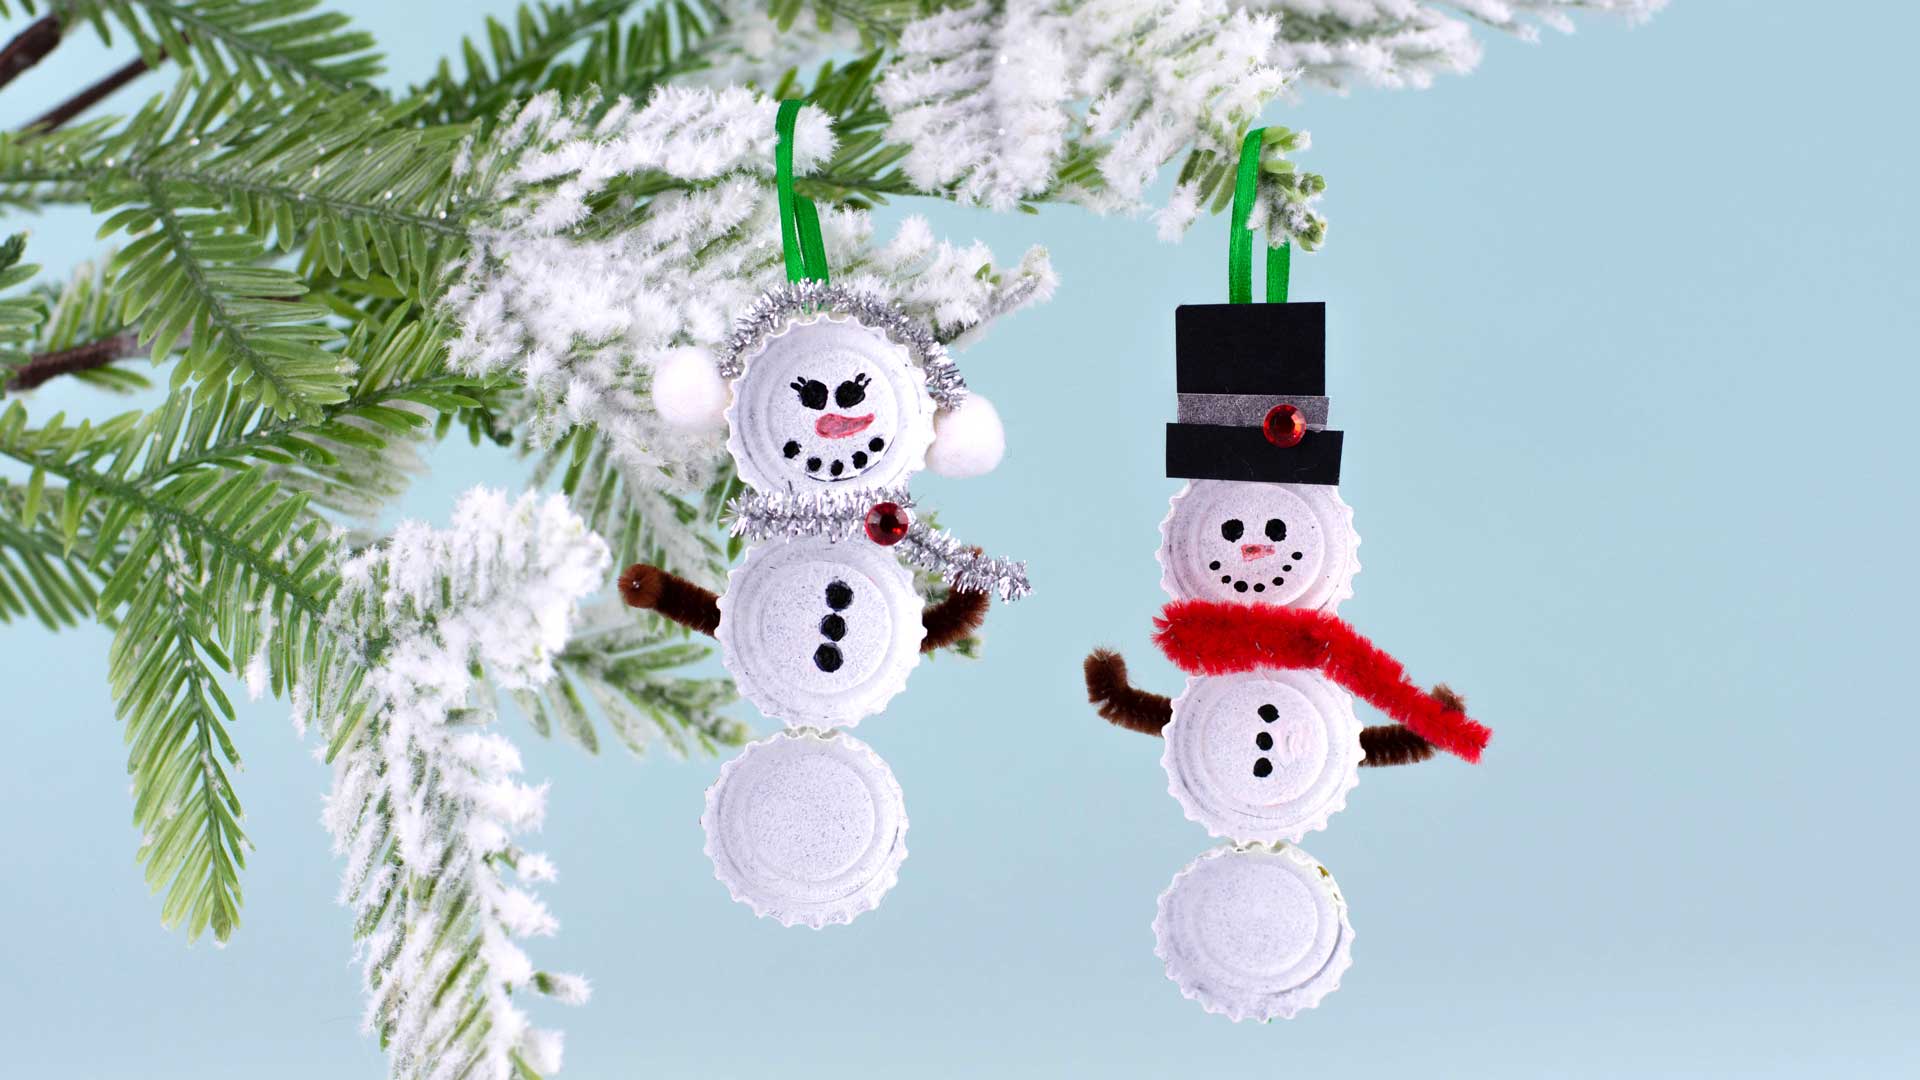 Bottle Cap Snowmen
(Ages 3-104)
Recycle bottle caps into adorable snowmen in this easy craft.
Materials:
Bottle caps
White paint
Ribbon
Hot glue
Markers
Pipe cleaners
Buttons
Instructions:
Paint bottle caps white.
Cut ribbon into 8 inch sections and tie a loop (2 inches from one end of the ribbon) to use as a hanger.
Hot glue three bottle caps per ribbon as the three segments of the snowman body.
Draw eyes, mouth and an orange carrot nose on the top bottle cap.
Glue small buttons or beads on the middle and bottom bottle cap.
Wrap a ribbon or fabric scrap between the top & middle bottle cap as a scarf, and glue into place.
These DIY snowmen projects are just the starting line for young crafters. Every recycling bin and junk drawer holds the potential for a snowmen just waiting for a little white paint, a carrot nose and a ribbon scarf to be transformed into an irreplaceable holiday decorations. Snowmen crafts can spruce up a garland or tree, but also try them out on adding a little extra care to the wrapping on packages, a stuffed stocking or the centerpiece on a holiday dinner.