Step-by-step tutorial
Warning
This experiment involves electricity and water. USE CAUTION AND SUPERVISE CHILDREN. Do not allow children to touch the water while the battery is connected.
Tip
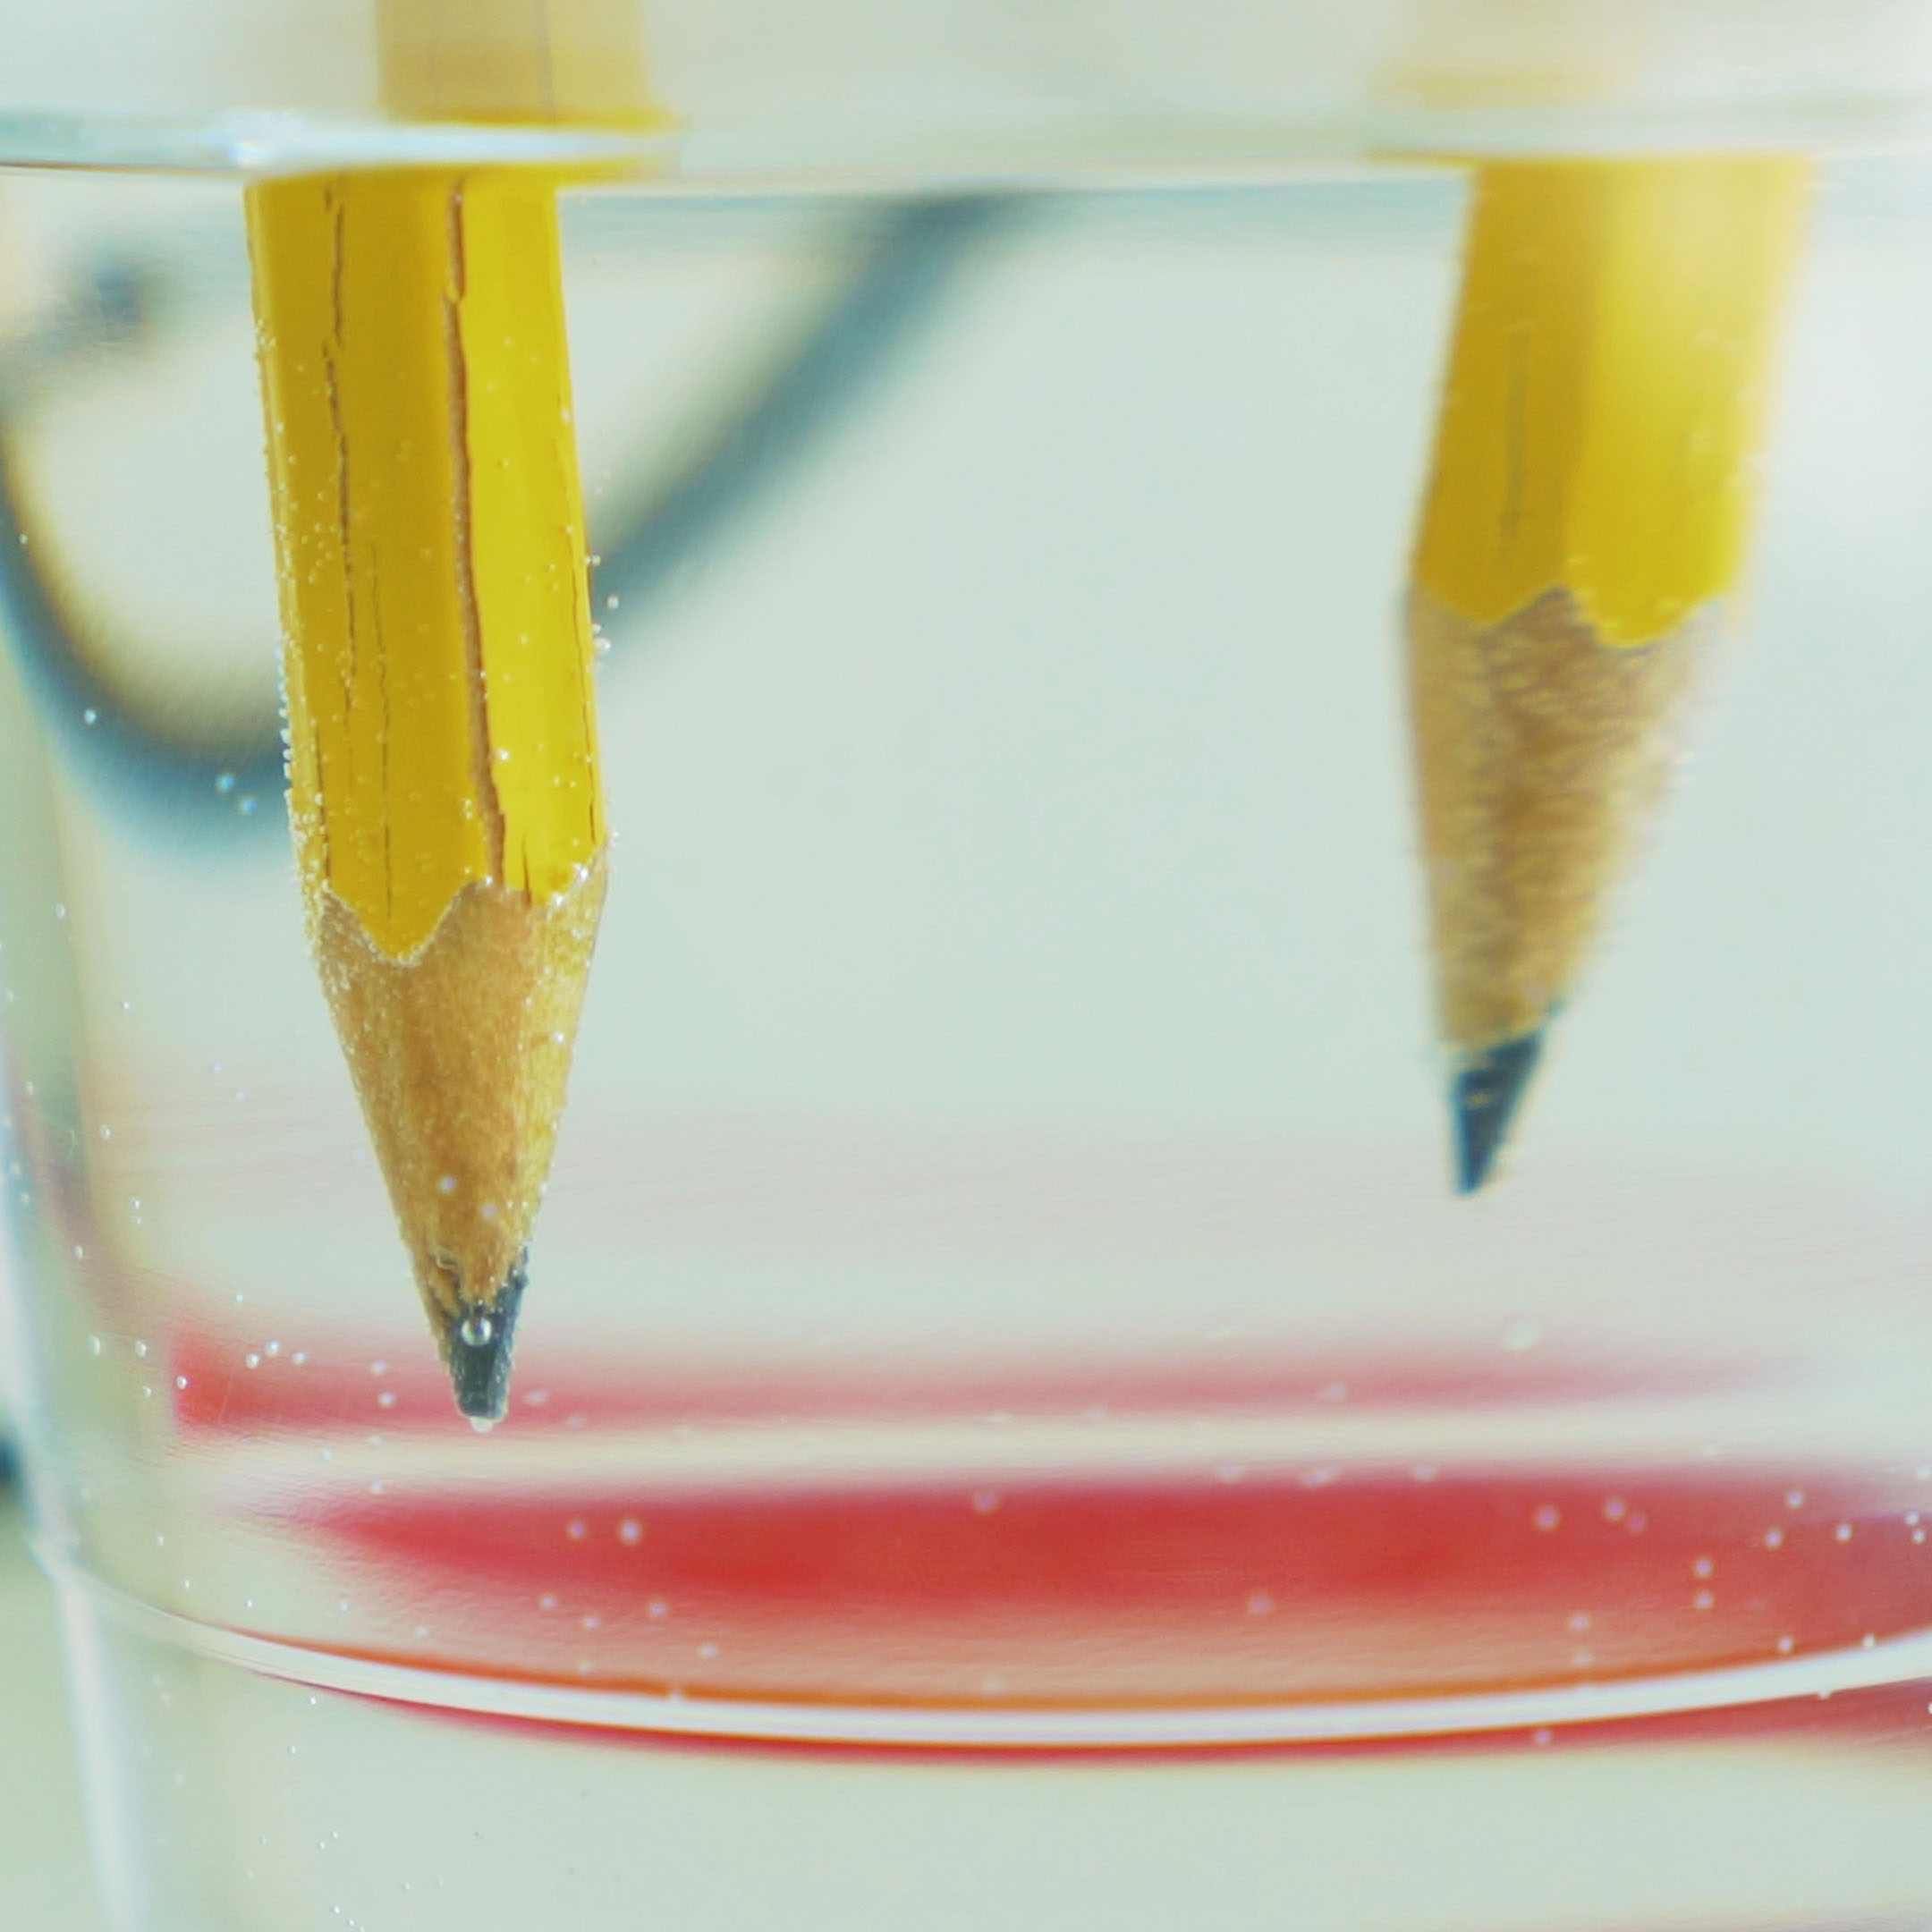
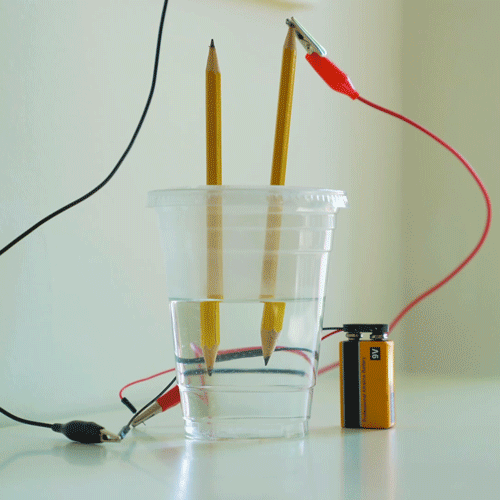
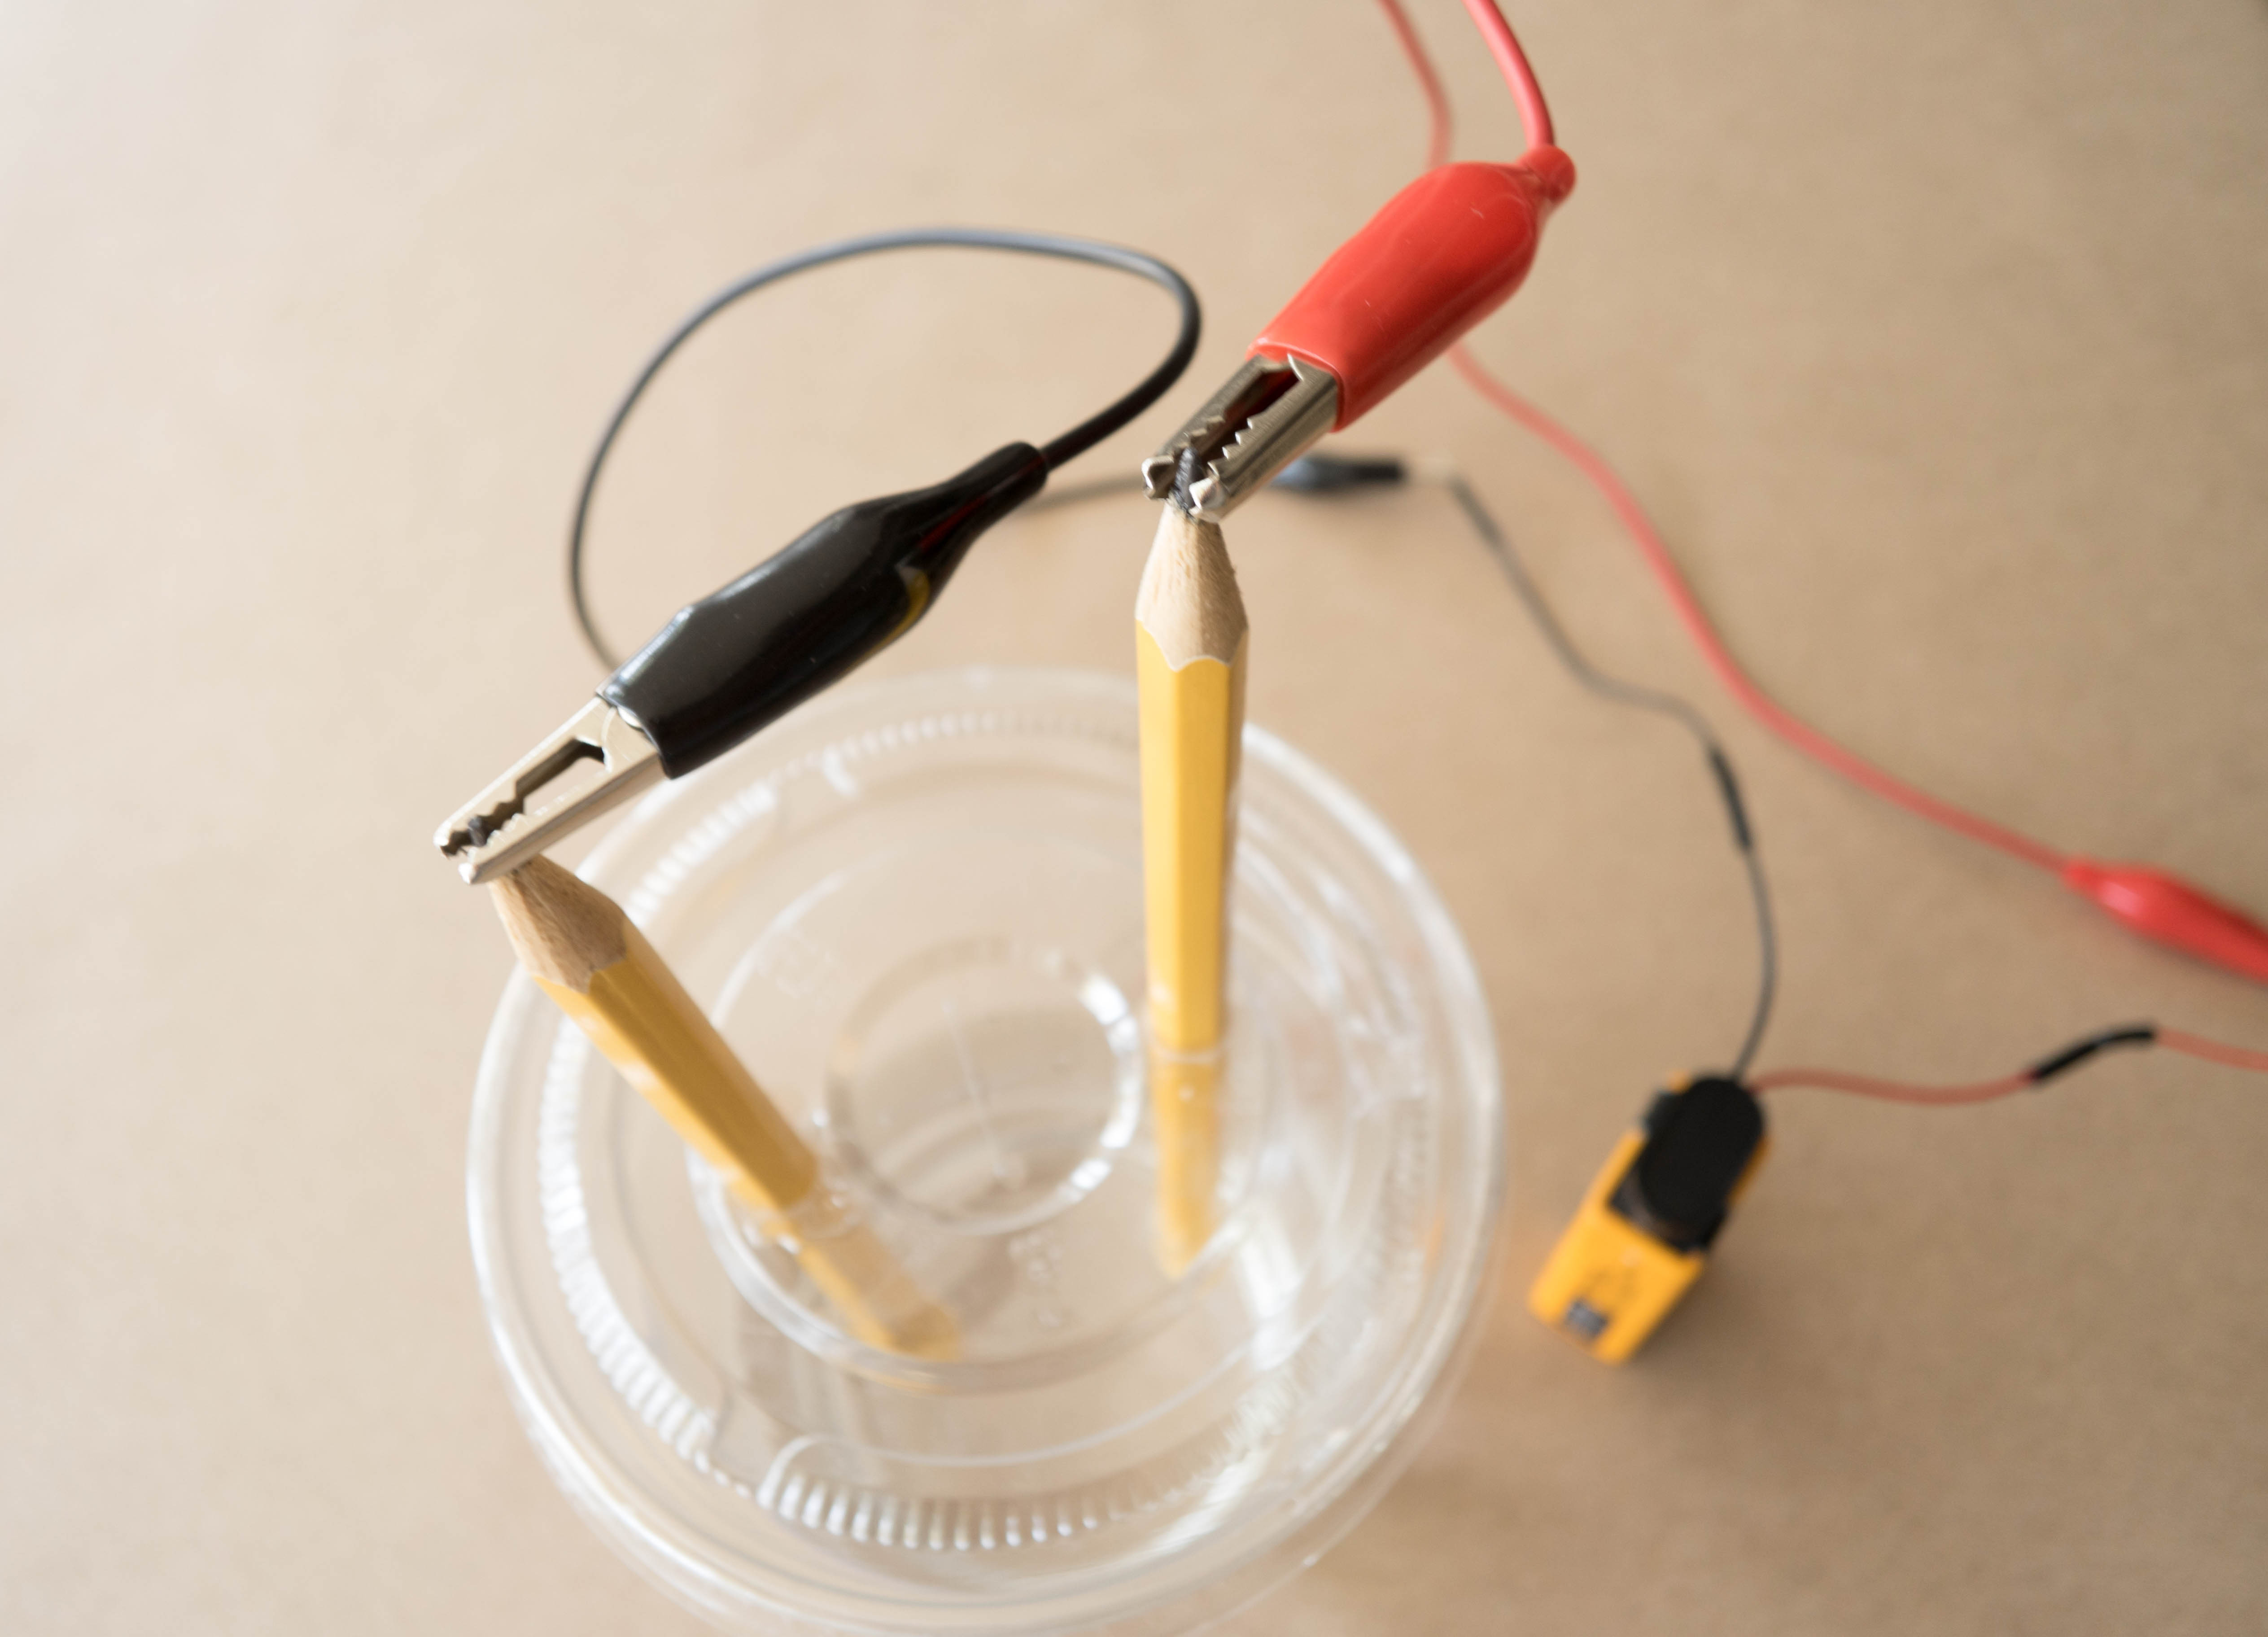
When you hook up the wires, electricity flows in a loop from the battery, down one of the pencils, through the water, then up the other pencil and back to the battery. The electricity actually breaks the water molecules apart into it parts — hydrogen and oxygen! The bubbles you see on the tips of the pencils are the hydrogen and oxygen gas created by this reaction. In fact, hydrogen gas is created at one of the pencils, and oxygen gas is created at the other. This process is called water electrolysis. If you watch very closely, you might be able to see that more bubbles are forming on one pencil than the other. That’s because of the “2” in the name “H2O”. When a water molecule splits, you end up with 2 hydrogens for every oxygen, so you see more hydrogen bubbles than oxygen bubbles.
Step 1
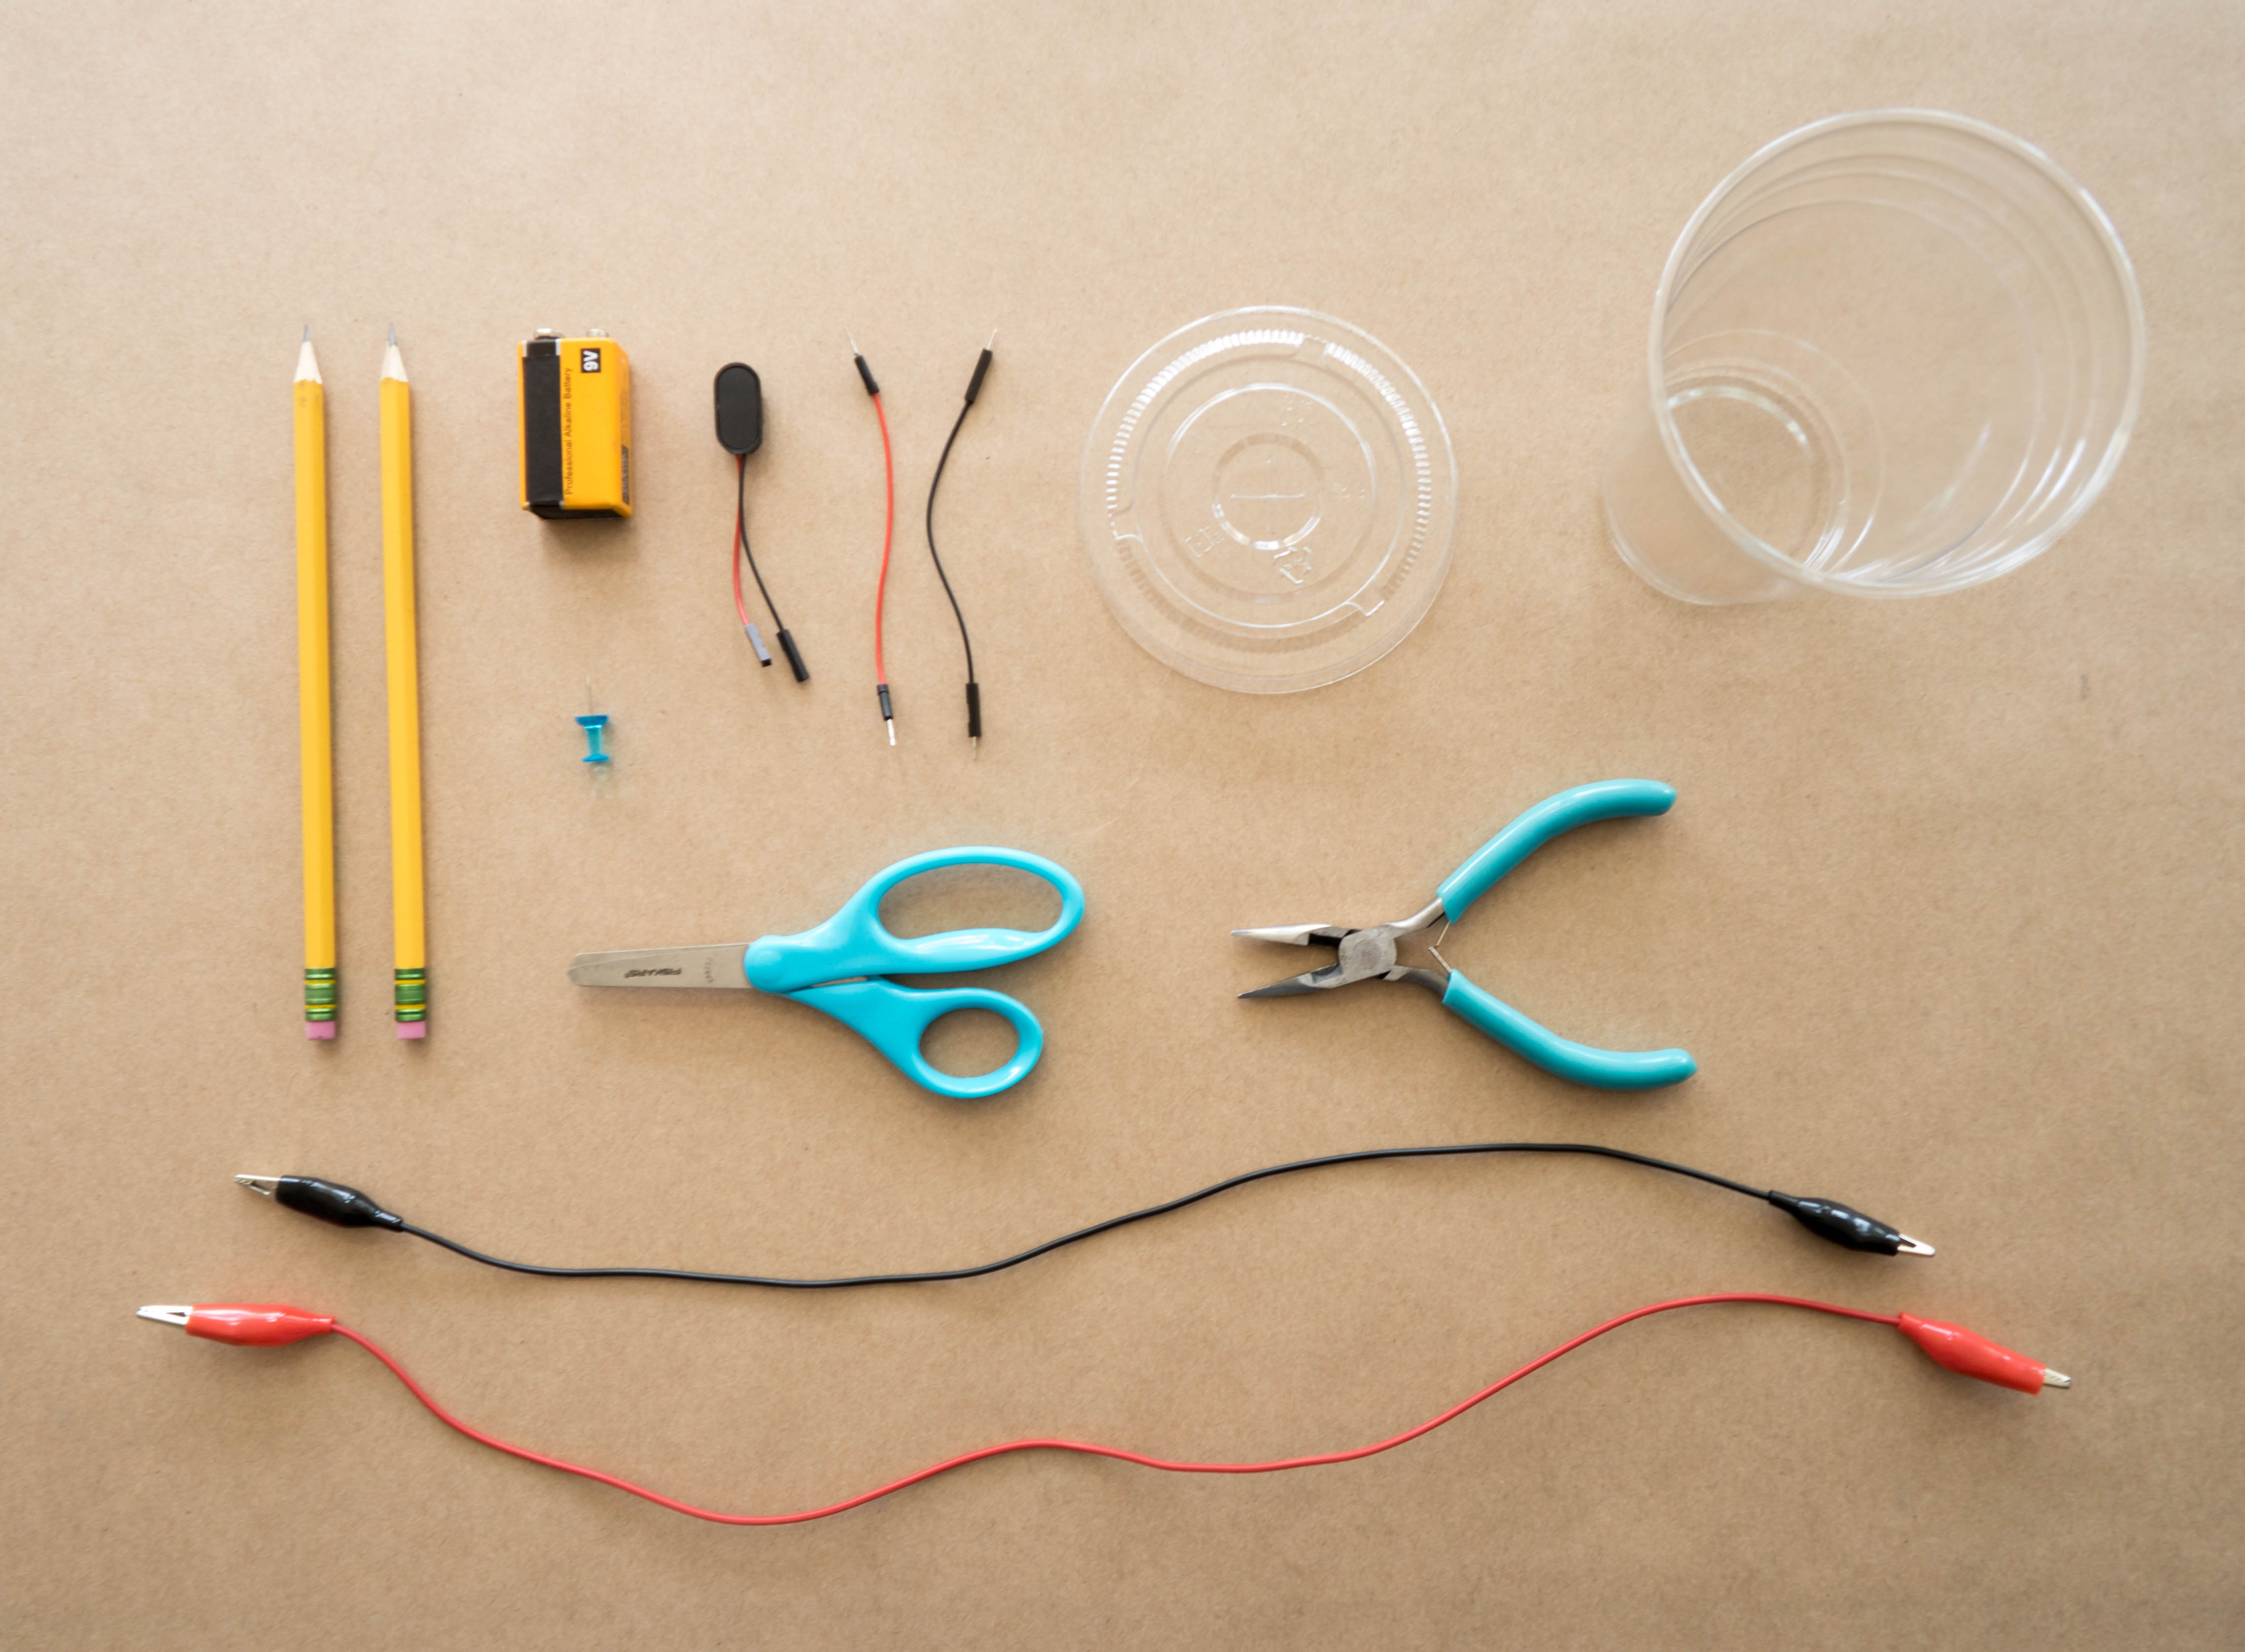
Gather your materials.

Step 2
Use pliers to remove the metal eraser piece from the pencils. Then, sharpen both ends of the pencils.

Step 3
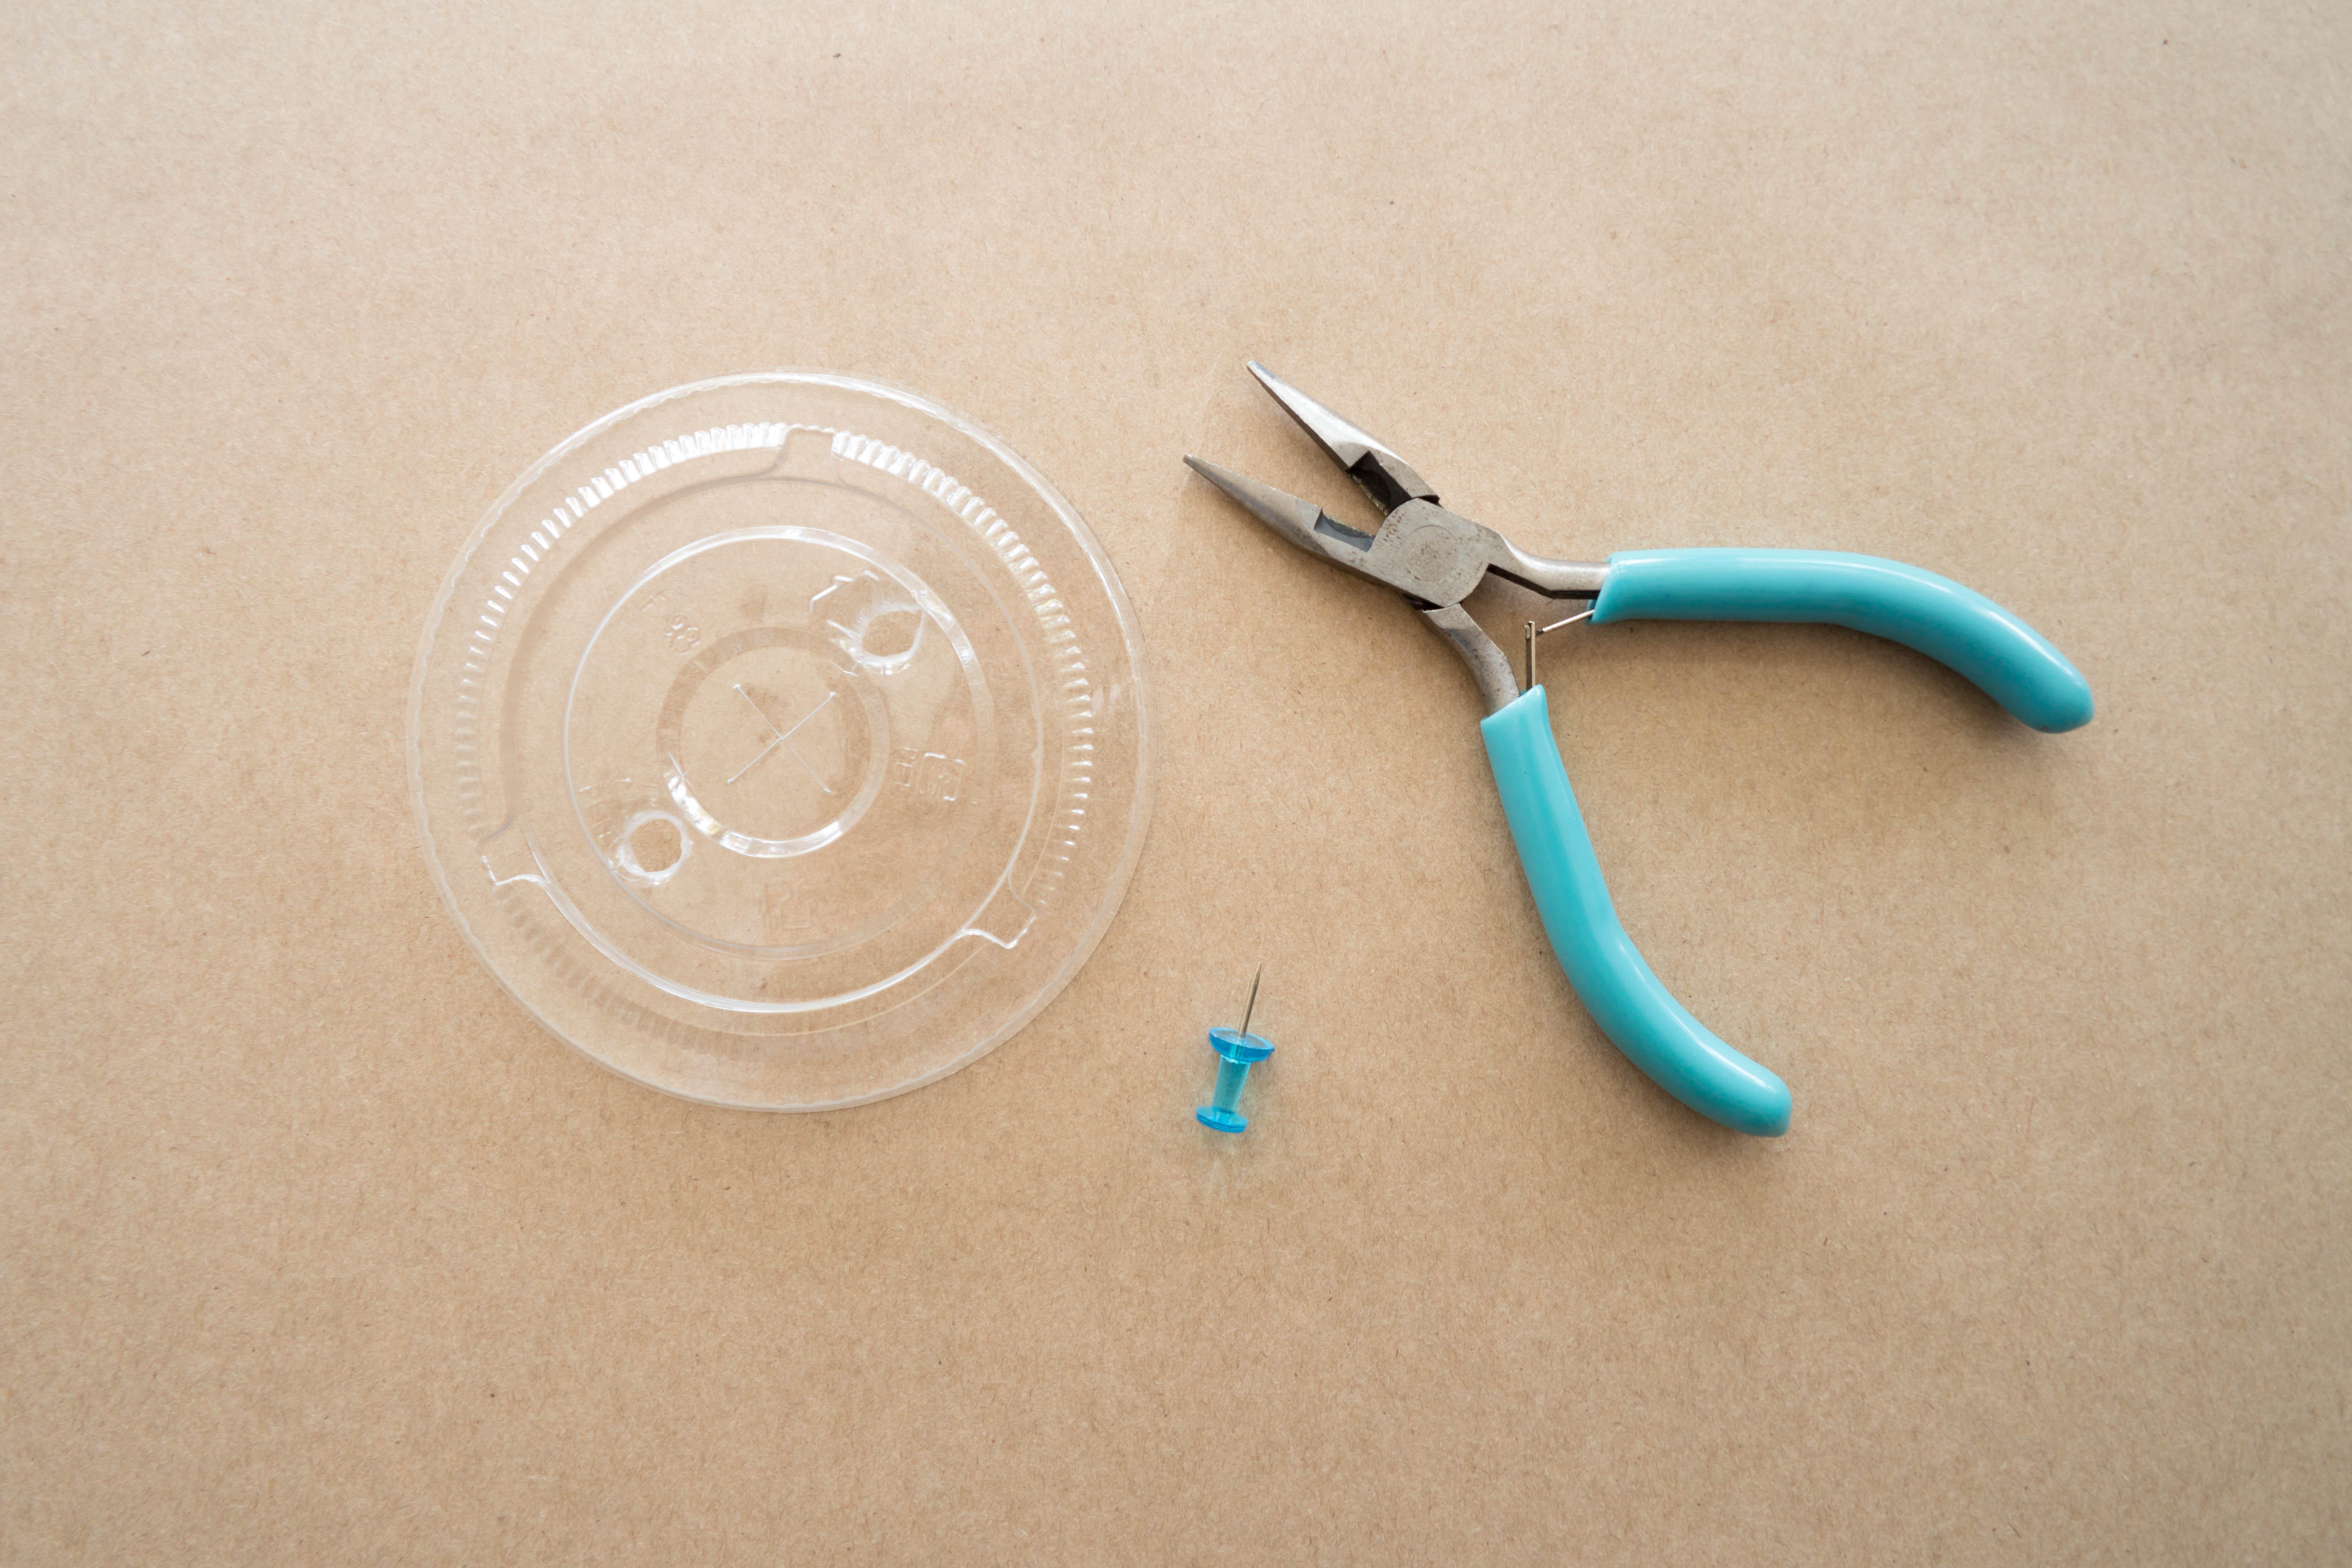
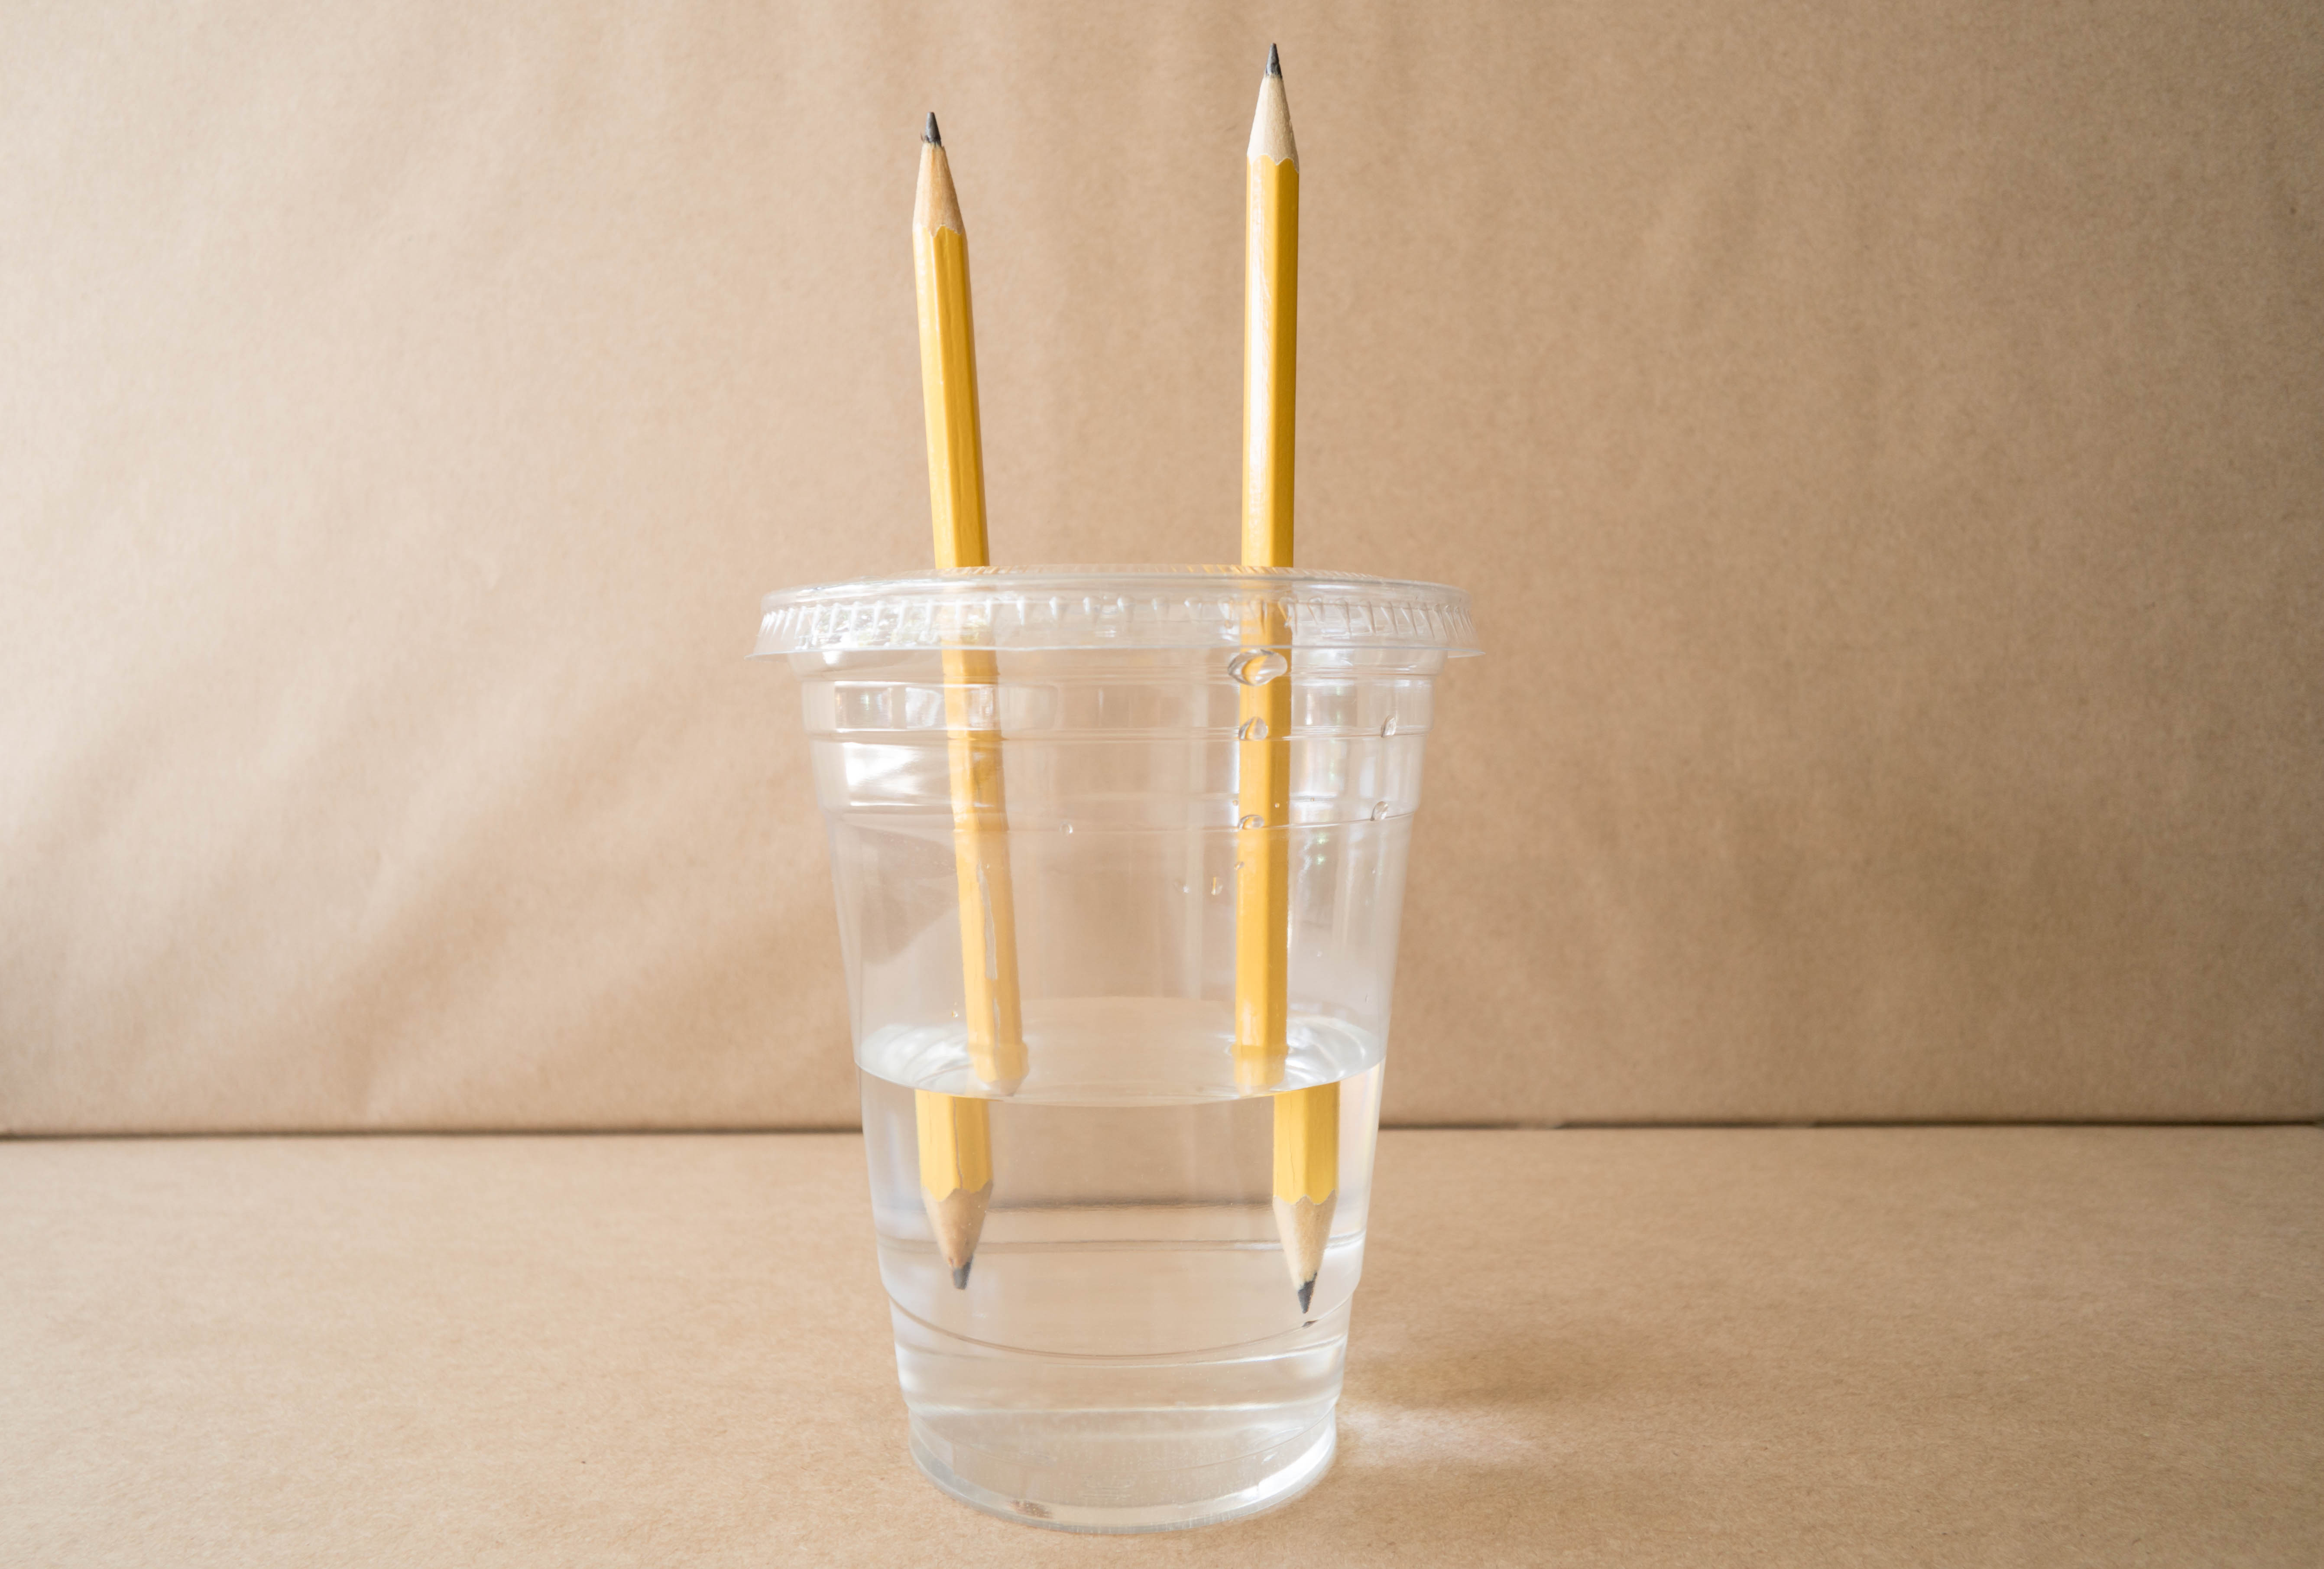
Using the pushpin, make two holes near the middle of the plastic lid directly across from each other. Widen the holes with pliers until a pencil fits snuggly in them.
Step 4
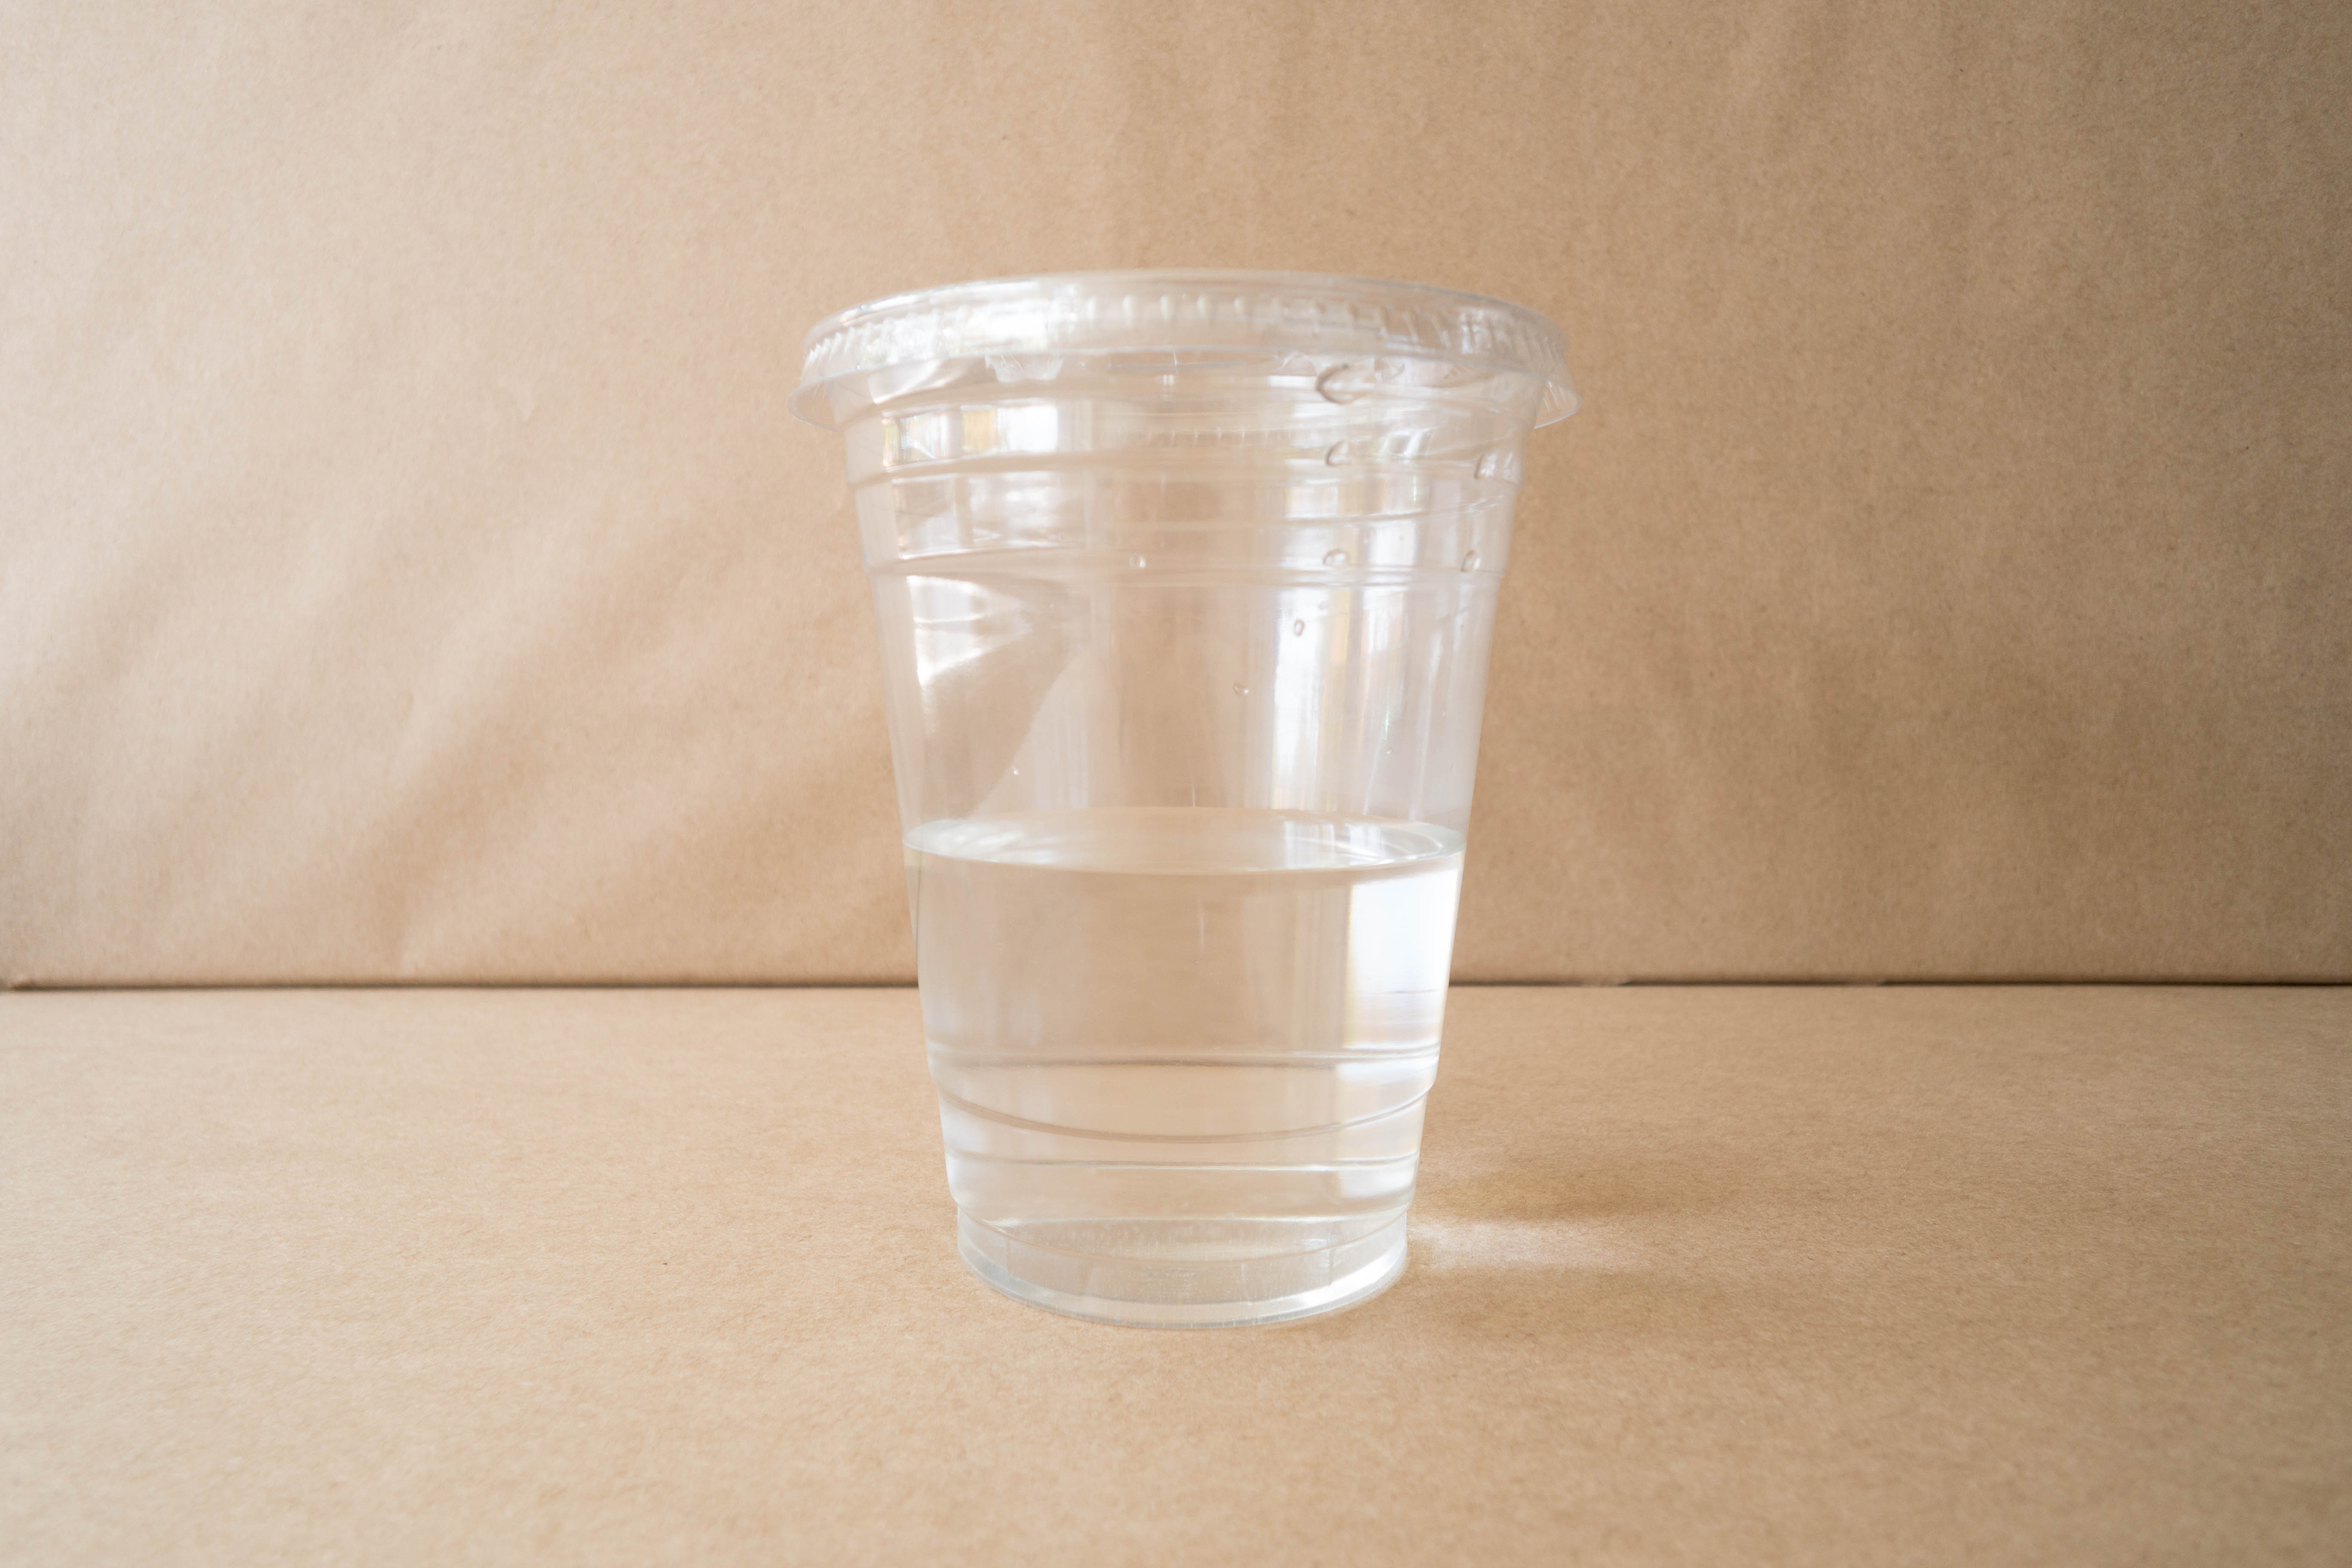
Fill the cup about halfway with water. Add some baking soda and stir it up. If you don’t still see some baking soda at the bottom of the cup after stirring, add more baking soda until you do. Then put the lid on the cup.
Tip
If you want to add to this experiment, you can try it first with plain water and then with baking soda water. If you do, you’ll see only a few bubbles forming in the plain water (or maybe none at all), while adding baking soda to the water causes more bubbles to form. That’s because plain water doesn’t allow electricity to pass through it very well. Adding the baking soda makes it easier for the electricity to flow through. (In other words, baking soda water is a better conductor of electricity than plain water.) More electricity means that more water molecules are split, creating more bubbles!
Step 5
Push one pencil into each of the holes so that the tips of the pencils are submerged in water.
Step 6
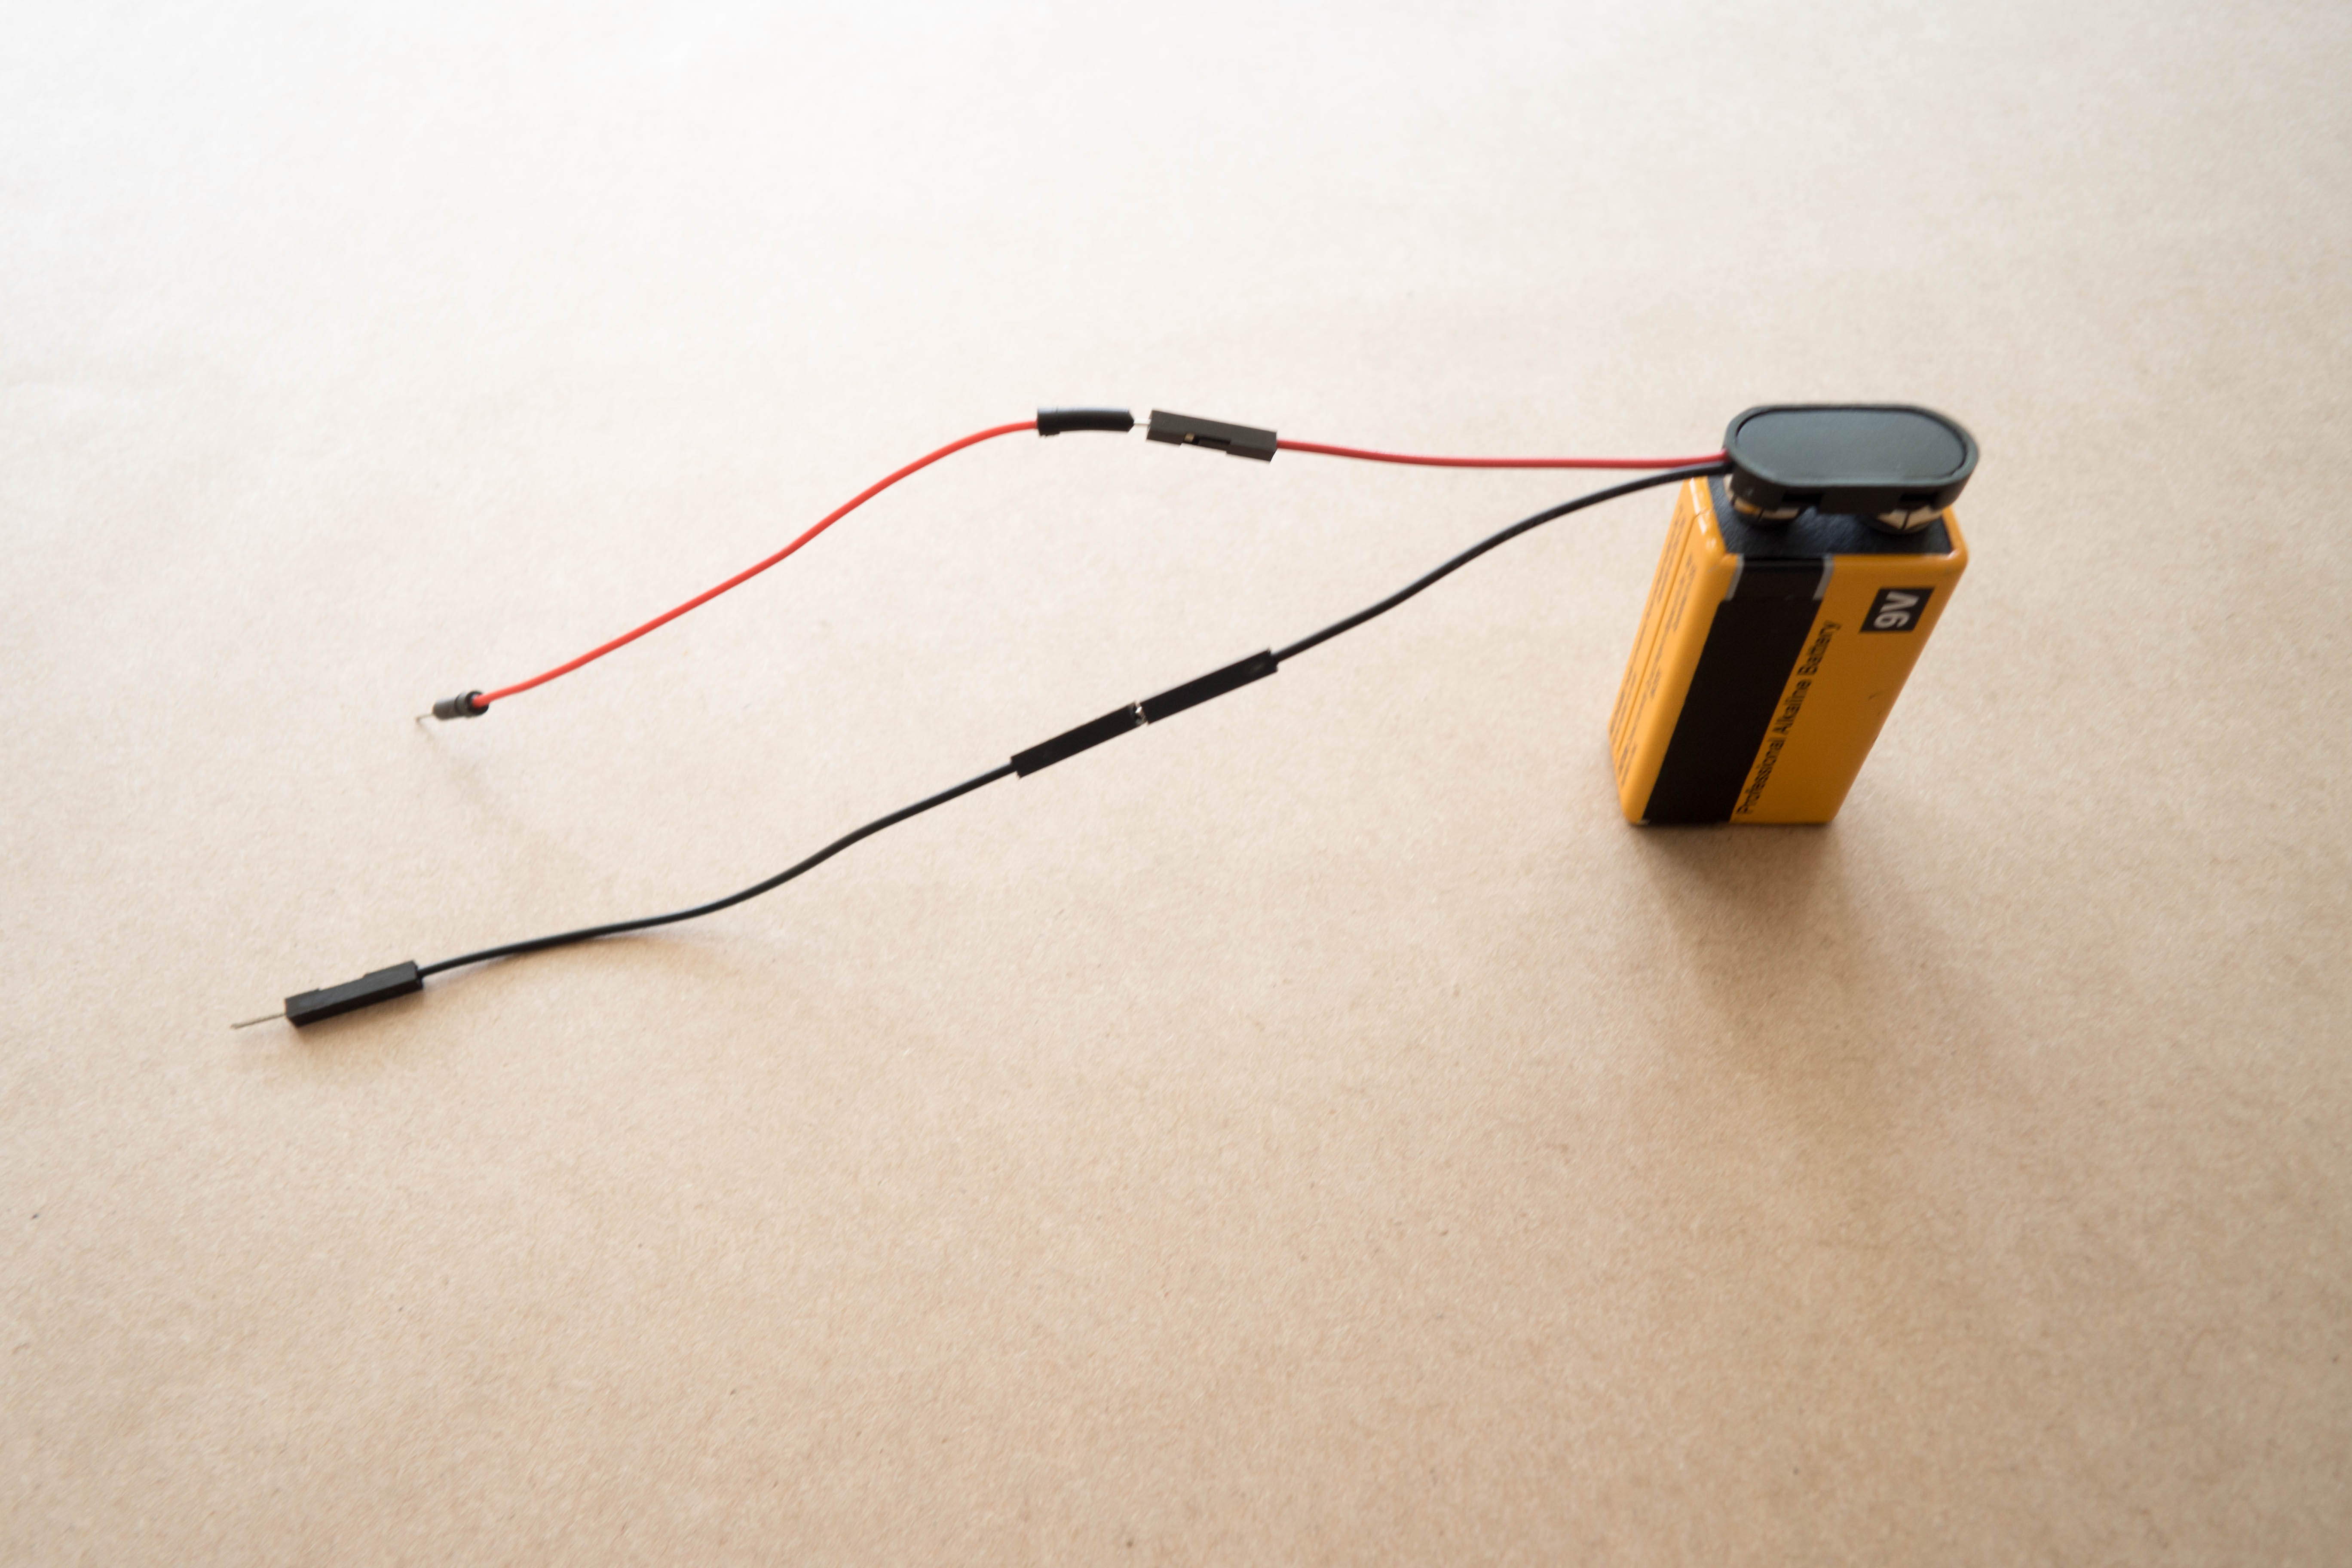
Place the 9V battery into the battery snap. Then, connect the loose wire leads to the leads coming off the battery snap.
Tip
Matching colors will make this easier! Match red wire leads to red wire leads and black wire leads to black wire leads.
Step 7
Connect one end of the alligator clips to the wire leads. Remember to match colors!

Step 8
Connect the other end of each of the alligator clips to the exposed tip of the pencils.
Done!
What happened? Can you tell which pencil is attracting hydrogen atoms and which is attracting oxygen atoms? (Hint: do you see more bubbles on one pencil than the other?)